Page updated: 31 March 2026
How to use Motion Blur and Radial Blur Filters to add motion
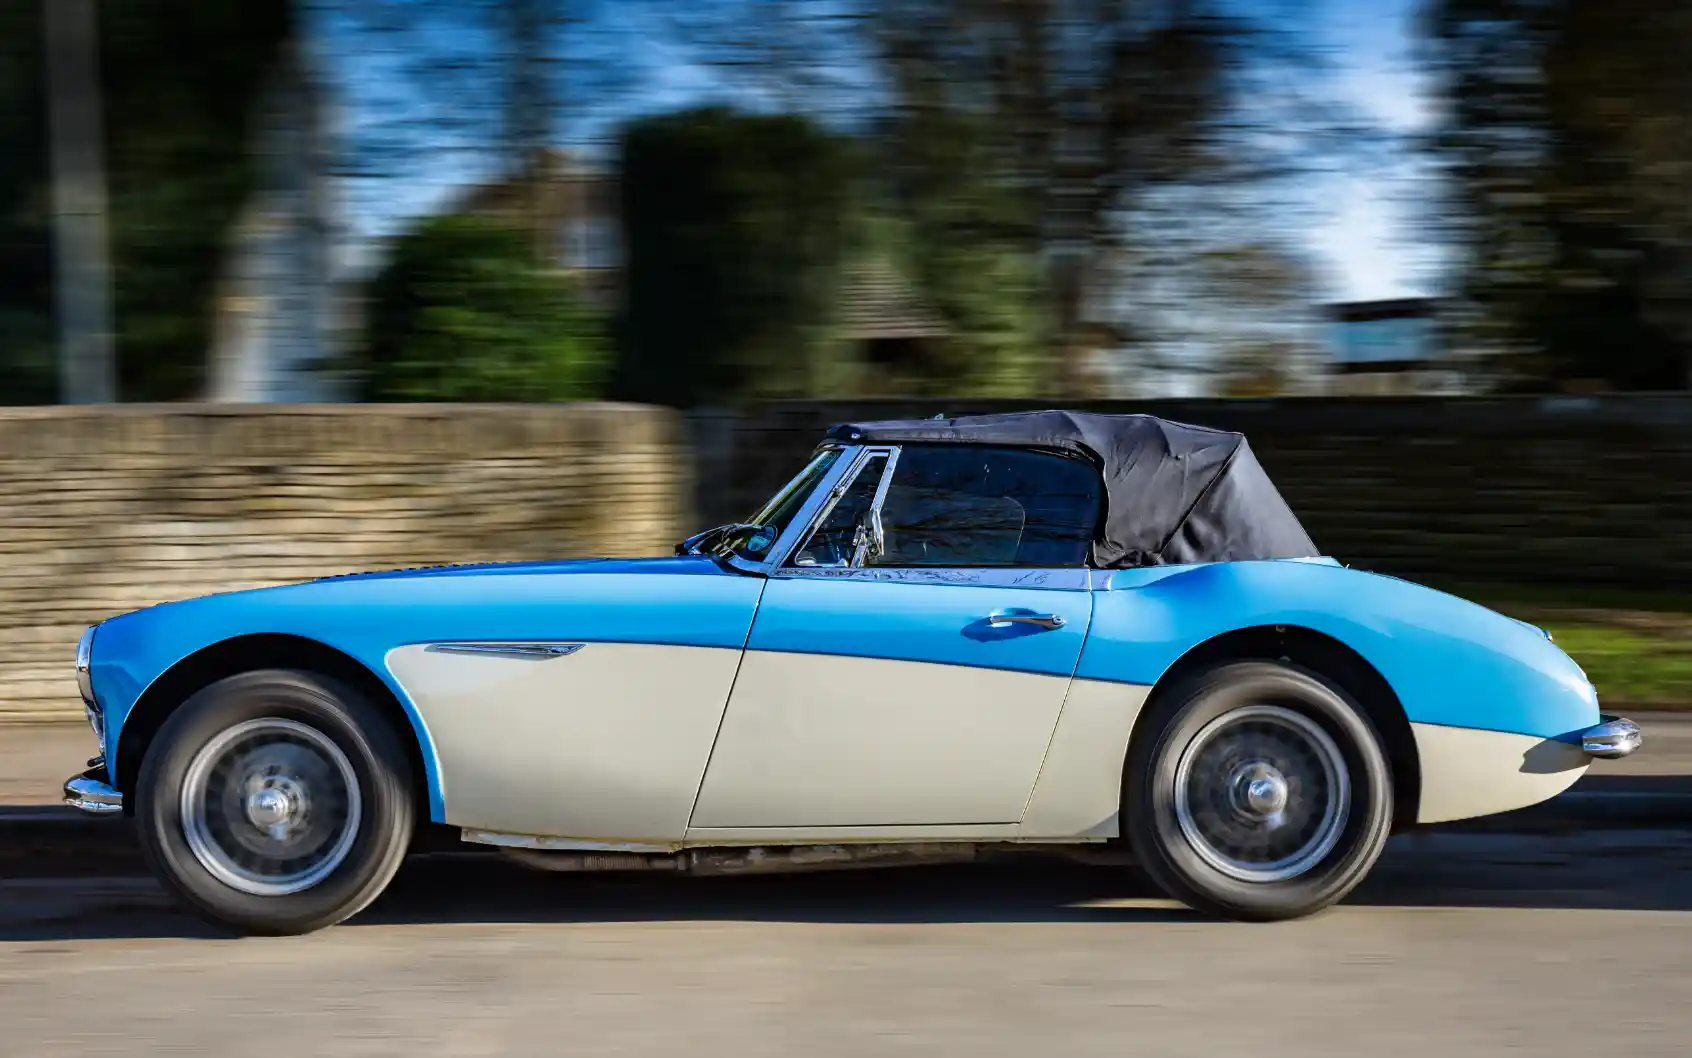
Want to make your static images feel fast and dynamic? In this Photoshop tutorial, you'll learn how to add a realistic motion blur effect to a stationary object—like a parked car—using smart selection, masking, and filter techniques. This easy step-by-step guide is perfect for beginners looking to create the illusion of speed, add drama to photos, or bring life to otherwise still scenes.
This tutorial will show you how to add Motion Blur to an image, to blur the background, to give the effect of a photo taken with good "panning" technique, of an object moving at speed. Radial Blur will be applied to the wheels to make them appear to spin.
It will also cover making a selection of a wheel with the Elliptical Marquee tool and then modifying the selection with Warp Transform.
Related tutorials; View the full tutorial on selecting the wheel and Replace Color Tutorial a great technique to change the color of this car, or any object.
Motion Blur - Before and After Comparison
ON THIS PAGE
How to add Motion Blur and Radial Blur Filters to create movement
1. Duplicate Background Layer

Duplicate the original Background layer. It's also good practice to rename your layers. It doesn't take long to do that and it can save a lot of time as you progress. Here the layers are renamed to Car and Blurred Background.
2. Select the Car

The Object Selection tool is a good selection tool to try first. Move the cursor over the image and the pink highlight shows what will be selected. Click on the object to select. In this image the selection is very good, but not perfect. See the next steps.
For more information see Object Selection Tool.
3. Car Selection

After clicking on the object, you will see the resulting selection, highlighted by the "marching ants".
4. Inspect and Improve Selection
After making a selection with the Object Selection tool (and other automatic selection tools), you should always inspect the selection for imperfections. At the rear of the car, here is an example of an area being selected that should not be selected, and should be removed from the selection. It's also possible to edit the layer mask, which will be added after refining the selection, but it's often better to get the selection as good as possible before adding the layer mask.
Select the Quick Selection tool and set the option to Subtract from Selection, either by clicking the minus (-) button on the options bar, or holding the Alt key.
For more information see Quick Selection Tool.
5. Improving the Selection

At the front of the car, there are also areas that have been included in the selection that should be removed from the selection. Use the Quick Selection tool to Subtract from Selection. Bear in mind that when you do this, some areas that you want to include in the selection, may be removed, so you will need to select them again. Don't undo! The Quick Selection tool will learn what you want and don't want to select, provided you are accurate when clicking.
The Quick Selection tool is often under-appreciated - because it isn't used correctly. For good results, it must be used properly. See Quick Selection Tool.
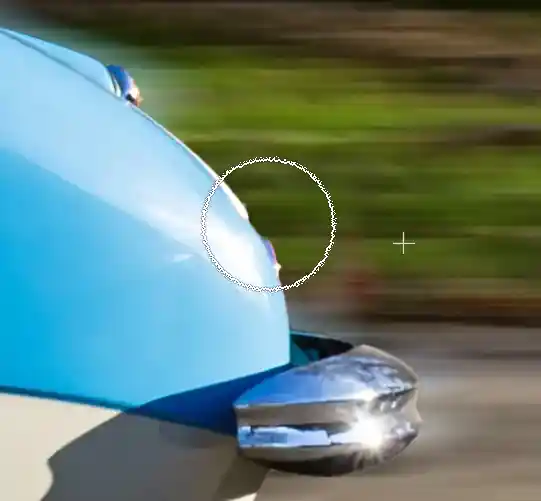
6. Quick Selection Tool to Add and Remove
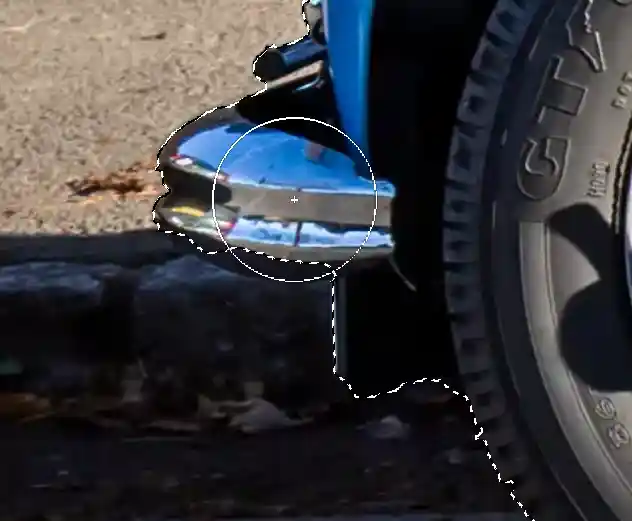
The circle shows the size of the Quick Selection tool. Note the + (plus) icon in the center, indicating that this will Add to Selection, as we want to add this area of the bumper/fender to the selection.
You may need to keep Adding to and Subtracting from the selection. It can sometimes feel a little tedious and the temptation can be to Undo.
Don't. Undo won't help you as it will only take you back to the previous situation.
Be accurate where you click and the Quick Selection tool will learn from you.
7. Quick Selection Tool continued

One click with the Quick Selection tool adds this area to the selection.
8. Quick Selection Tool continued

Keep improving the selection with the Quick Selection tool, until it's perfect (or as close as possible).
9. Add Layer Mask
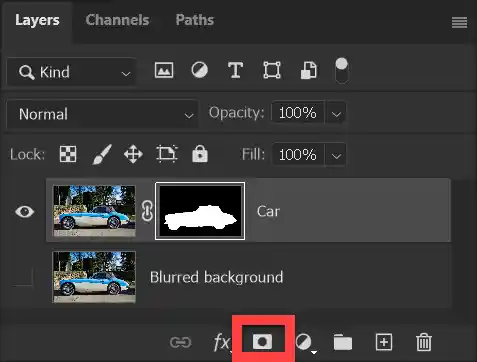
Add a Layer Mask, by clicking on the Layer Mask icon at the bottom of the Layers panel.
Note that this screenshot shows the layer mask already added (the black and white image with the white highlight).
Adding a Layer Mask, hides all the other content on that layer (that wasn't selected).
10. Convert to Smart Object or Smart Filter
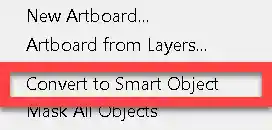
Right-Click on the background layer and select Convert to Smart Object.
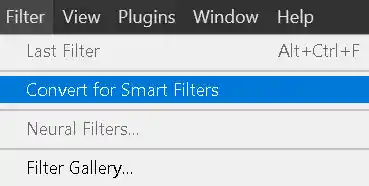
Or instead, you can select Convert for Smart Filters from the Filter menu.
Both these options create a Smart Object, so that Filters are applied non-destructively, so can be be edited at any time later.
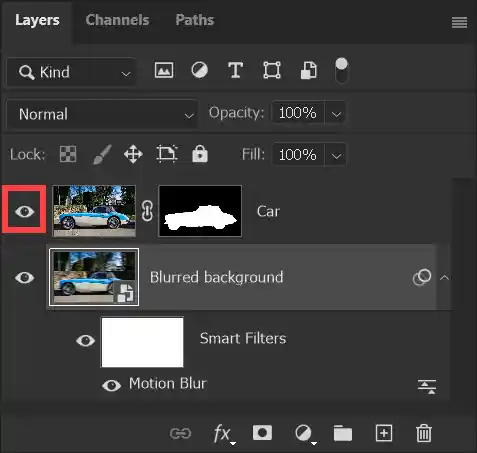
11. Layer Visibility

Before adding Motion Blur to the background layer, I suggest turning off visibility of the car layer (red highlight). This isn't essential, as the Motion Blur filter will only be applied to the selected layer.
In this screenshot the Blurred background layer is selected. Whether or not you choose to have the car layer visible or not, do ensure that the Blurred background layer is selected.
12. Adding Motion Blur

To to the Filter menu and select Filter > Blur > Motion Blur.
13. Motion Blur Options
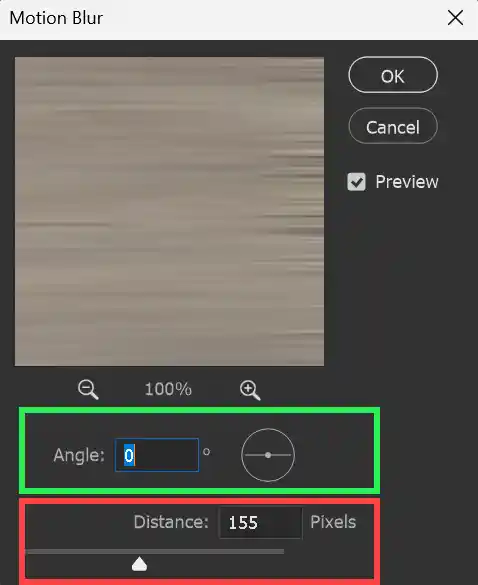
Drag the Distance Slider (red highlight) to adjust the amount of motion blur.
In this image the car is on level ground, so an angle of 0 degrees is fine. If your subject is on a slope, you will need to adjust the angle to match the slope. Either type a number for the degrees, or click on the lines within the circle and drag to change the angle.
14. Result of Motion Blur

This is the result of the background layer after the Motion Blur filter has been applied, as in the previous step.
15. Car Layer Visible
Turn on visibility of the car layer to see how the car looks with the motion-blurred background.
16. Remove Excess Motion Blur

At first glance it looks good. However a closer look reveals issues, shown in steps 17 and 18.
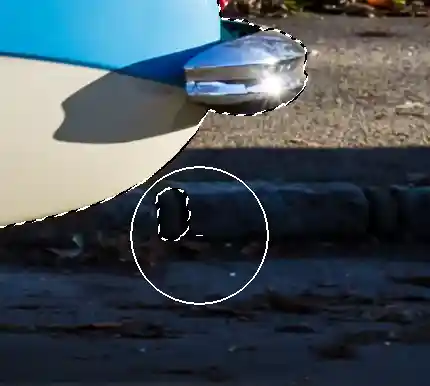
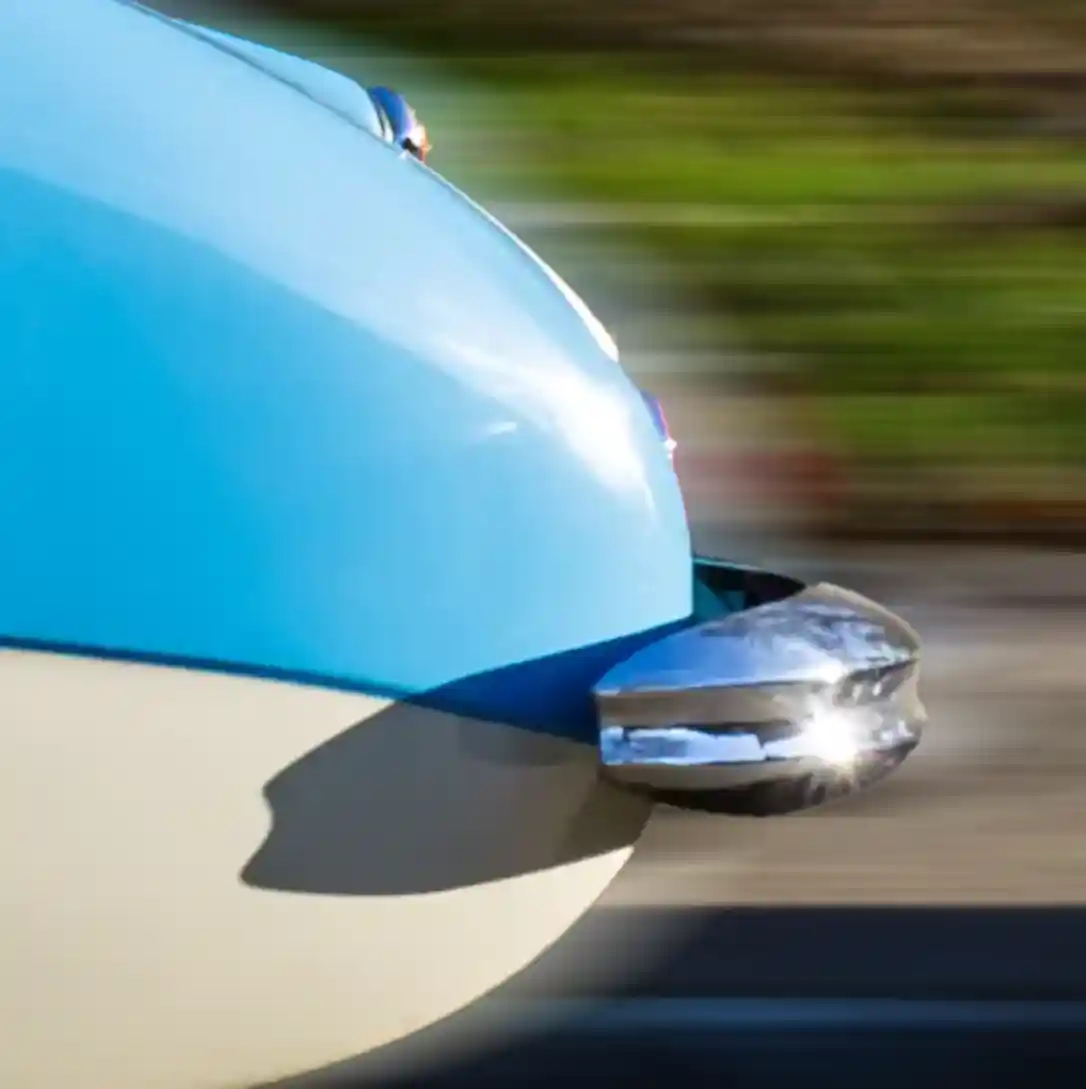
17. Remove Excess Motion Blur continued
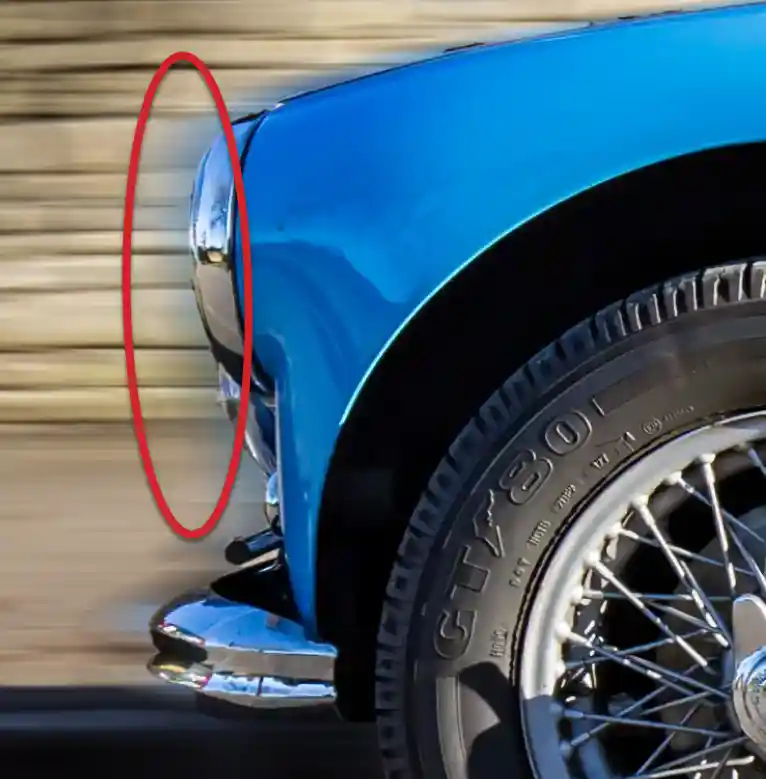
When you use Motion Blur the image is stretched. This creates an unwanted blurring around the object. In this screenshot at the front of the car, it is to the left of the headlight.
18. Motion Blur Excess Blur continued
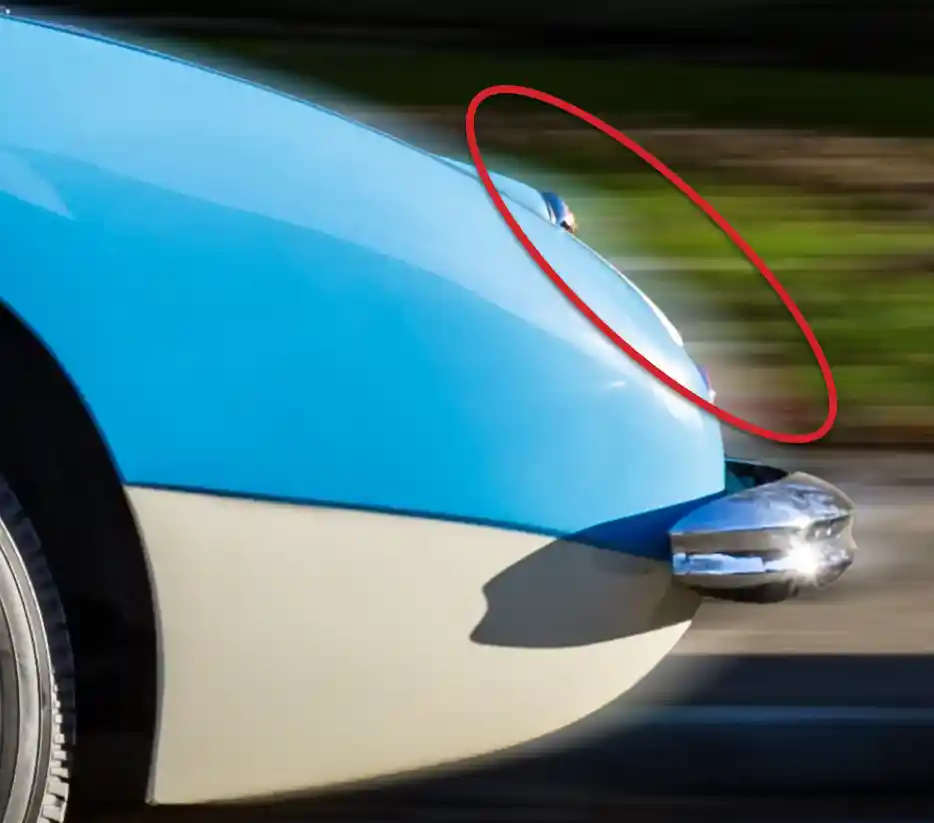
In this screenshot at the rear of the car, the blurring is to the right of the end of the car.
19. Don't Rasterize Smart Object

We will remove this unwanted blurring with the Clone Stamp tool, but if you try to use the Clone Stamp directly on this layer, you will see this message.
Don't click OK. Don't rasterize the image (converting back to pixels).
This layer is a Smart Object and you cannot use the Clone Stamp on a Smart Object. If you rasterize the layer, you will lose the ability to adjust the amount of Motion Blur applied to the layer.
Instead, see the next step, where we will Clone on a different layer.
20. Add New Layer for Cloning
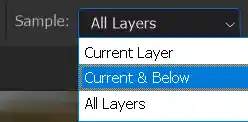
Add a new layer, by clicking the + (plus) button at the bottom of the Layers panel.
Select the Clone Stamp tool and in the Options bar, select Current & Below in the Sample box.
21. Clone Stamp Options
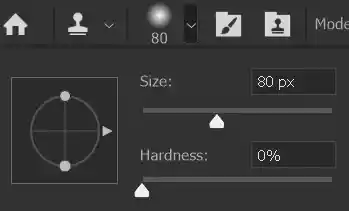
In the Options bar, select Brush settings and ensure Hardness is set to 0%, for a soft brush, so your work will more easily blend in.
22. Cloning to Remove Excess Blur
With the Clone Stamp tool selected, press and hold the Alt key and click to select a source point. Then click to begin cloning. Ensure that you clone along the same line as the source point, to maintain the lines of the motion blur.
You don't need to be careful around the edge of the car, as the car is on a different layer, so this is easy to do.
23. Before and After Comparison - Removing Excess Blur
Click on the Before and After buttons to see the result of removing the excess blur.
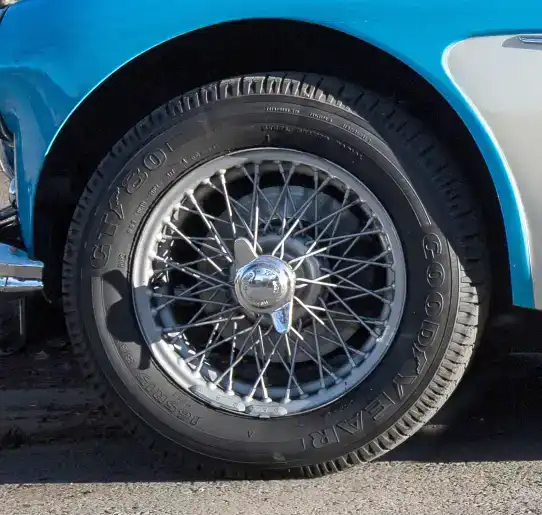
24. Selecting the Wheels
Automatic selection tools sometimes don't work perfectly because of a lack of contrast between the subject and the background. Step 2 below shows that the Object Selection tool selects the whole car. Dragging just around the wheel improves this considerably. On some subjects this will suffice, but in this image the wheel still isn't perfect. I'm therefore going to demonstrate an alternative technique for selecting round (or almost round) objects..
See a full tutorial on selecting the wheel here.
Click on each step 1-10 to view the steps.
Summary of Steps
See the caption under the image for details about each step.
1. Lighten the wheel, to see detail clearly.
2. Object Selection tool selects whole car.
3. Drag Object Selection only around wheel.
4. Shows result of 3. Still imperfect, but may be good enough on some subjects.
5. Shows result of Step 3 with layer mask added.
6. Create selection with Elliptical Marquee.
7. Shows wheel is perfectly round.
8. Transform selection.
9. Edit > Warp to manipulate selection.
10. Finished selection.
25. Create New Layer

With the selection of the wheel active, create a new layer that will contain just the wheel. There are different methods for this.
The quickest method is the keyboard shortcut Ctrl+J. I recommend getting used to using this.
Or from the menu: Layer > New > Layer via Copy (note the shortcut Ctrl+J).
Copy and Paste. From the menu: Edit > Copy, then Edit > Paste, or use the keyboard shortcuts; Ctrl+C to copy and Ctrl+V to paste
26. The New Layer
Reselect the wheel before applying Radial Blur.
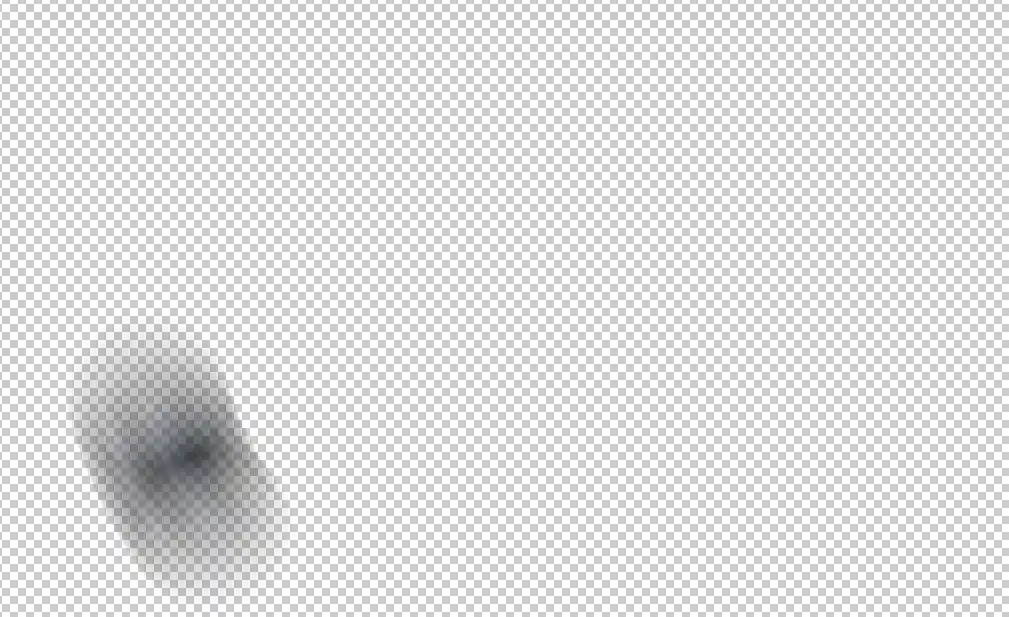
See the next step for how to do this.
If you don't reselect the wheel before applying Radial Blur, you will see something like this. This is because, in this example, Radial Blur was applied to the whole layer and not just the wheel.
27. Selecting Layer Contents

To select the contents of any layer, press and hold Ctrl and click on the layer thumbnail. This is an excellent method of selecting contents of a layer.
Don't try to manually select the wheel.
28. Radial Blur Filter

With the wheel selected, from the Menu: Filter > Blur > Radial Blur.
29. Radial Blur Options
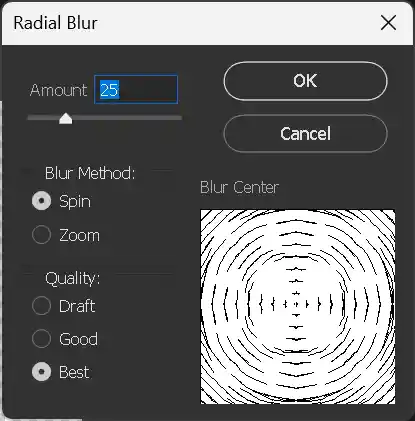
Unlike Motion Blur, there is no preview of the filter. Choose Spin as the Blur Method and Best for Quality. Drag the Amount slider to change the amount of radial blur. Just take a guess and if you don't like it, undo and try again. Or you could convert to Smart Filters before applying the filter, then you can edit it.
30. Finished Front Wheel
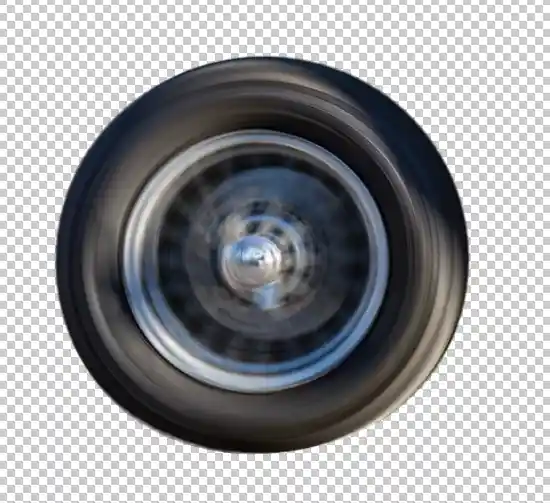
Here is the result of applying the settings shown in step 28.
31. Repeat for the Rear Wheel
Repeat steps 23-28 for the rear wheel.
32. The Layers Panel

Your layers should look like this.
33. The Finished Image
Here is the finished image. You can compare it to the original.