Page updated: 24 March 2026
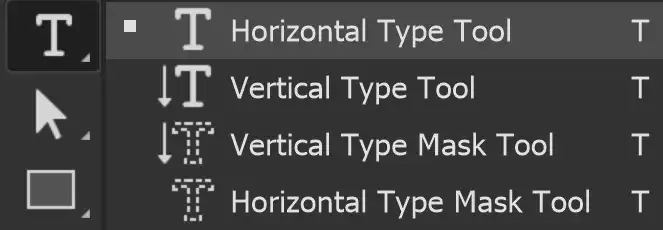
Horizontal Type Tool
The Horizontal Type Tool allows you to add horizontal text to your images. There are two types of text;
- Point Text: Click and add your text. Point Text does not wrap, as there is no container for it to wrap within.
- Paragraph Text: Click and drag to create a textbox. When you type, your text will wrap within the textbox and you can align text; Left, Centre, or Right aligned, just as you can in word processor programs.
You can easily switch between Point and Paragraph text by right clicking on the layer and selecting the other option.
Horizontal Type Tool Options

Tap to view full size
Rotate your phone for easier reading
ON THIS PAGE
Tool Presets

You can create and save a Tool Preset for any tool. This will remember settings that you choose. Presets for brushes are much more useful than for some tools. If you wish to use presets, you have the option of either creating a tool preset or a brush preset. Right click on the Tool Presets button to reset the tool to default settings.
Text Direction
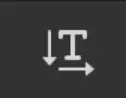
Toggle to change the direction of the text between horizontal and vertical.
Fonts

Search for fonts, filter fonts, see a preview of the font, add to your Favorite fonts
You can filter the fonts;
Show Adobe Fonts (highlighted in red).
Show Variable Fonts (highlighted in green).
Show Favorite Fonts (highlighted in pink).
Show Similar Fonts (highlighted in blue).
Font Style
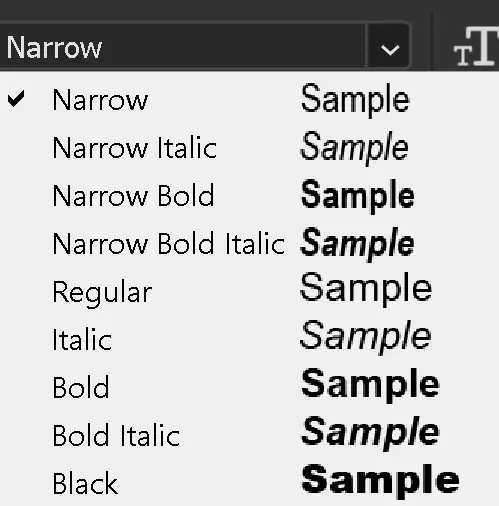
Select the style of font. This will vary, depending on the font. Some have many styles and others only have a few styles available.
Font Style Scrubby Slider
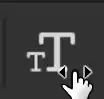
This is a great way to change font size. Highlight the text, then click on the Scrubby Slider and drag to the right or left. Look for the icon of the hand with the left and right arrows.
Dragging to the left will decrease the font size and dragging to the right will increase the font size.
As you drag, you get a live preview of the size.
Font Size

The Scrubby Slider (immediately above) is a great way to change font size, with a live preview, but you can also change font size with this drop down list.
This is the same as in word processors. If you need a specific font size, select it from this list.
Anti Alias Method
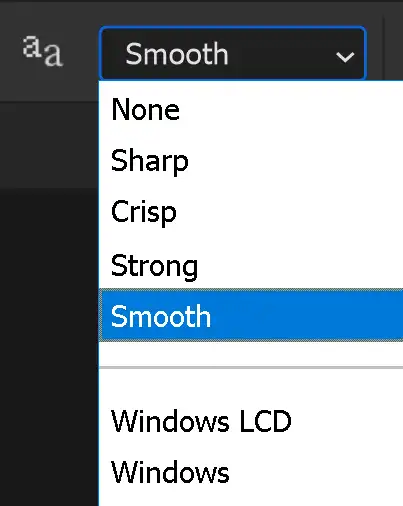
Anti-alias smoothes out lines, which of course, there are a lot of in text. There are some options for different anti-alias methods. Try them out and see which you prefer.
Text Alignment
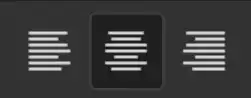
This works the same as in word processors and email programs. Align text to the Left, Centre, or Right.
This option is only valid in Paragraph Text, where text is within a box, not Point Text.
Font Color
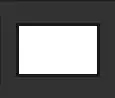
Click in the Font Color box to open the Color Picker to choose a color.
For more details see Color Picker.
Warp Text
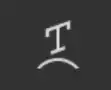
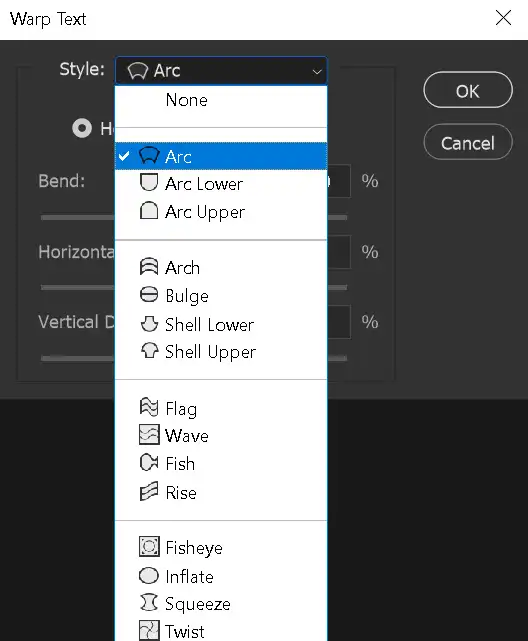
Click on this button to open the Warp Text options.
Character and Paragraph panels
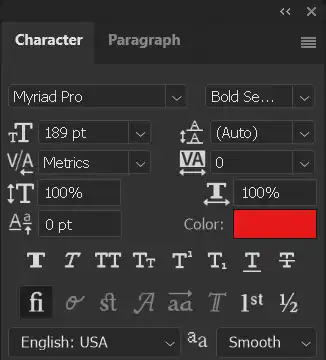
Click on this button to open the Character and Paragraph panels.
There are lots of options in each of these panels to format your text.
How to use the Horizontal Type Tool

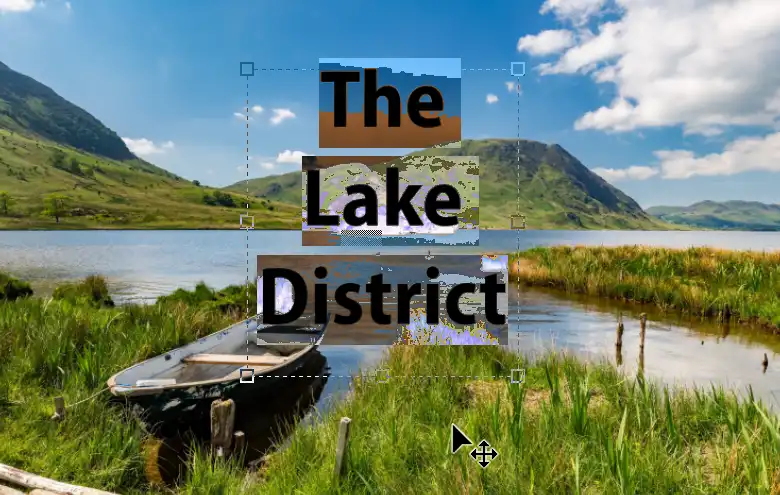
This is an image of the Lake District in the UK. We'll add some text and we'll also look at the difference between Point Style text and Paragraph Style text.
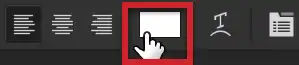
1. Horizontal Type Tool
Select the Horizontal Type Tool from the toolbar. Like most tools, it shares the button with other tools and the one that is visible will be the last tool used.
2. Click in Image

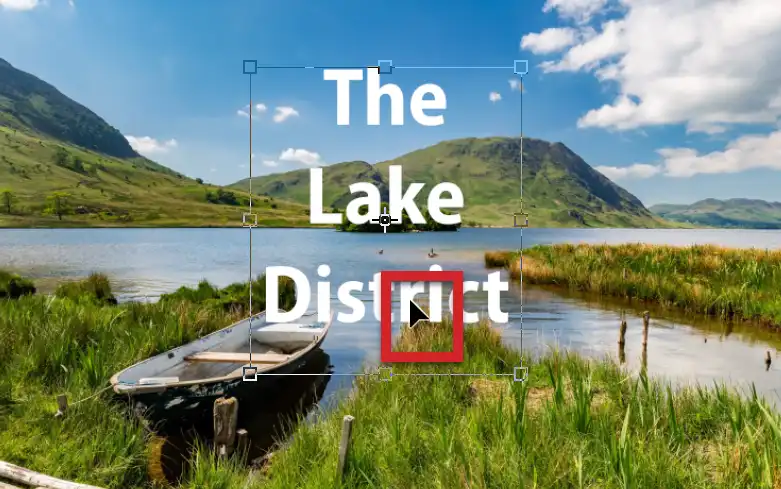
After selecting the Horizontal Type tool, move the cursor over your image and you will see the cursor has changed, (highlighted in red).
Just click in your image. It doesn't matter where, as you can easily reposition this at any time.
When you click to add text, a new Type Layer is added immediately above the currently selected layer.
Clicking in your image inserts Point Text. We will look at Paragraph Text later.
3. Placeholder Text

In recent versions of Photoshop, when you click to add text, "Lorem Ipsum" placeholder text is automatically inserted. Placeholder text is useful to arrange your design, as it allows you to edit the size and color and placement of the text, before you enter the real text.
The placeholder text is automatically highlighted, so you can type straight away. Your typing will replace the Lorem Ipsum text. In older versions there is no placeholder text, so start typing.
Note: Lorem Ipsum is nonsense text. It doesn't mean anything in any language. I find it helpful, but if you don't like it, you can turn it off in Preferences. See the next step.
4. Placeholder Preference

On the menu; Edit > Preferences > Type and untick the box Fill new type layers with placeholder text.
5. Font Size
When you add text it's usually not the size you want. In a large, high resolution image, it can sometimes be so small that you can hardly see it. I've found the placeholder text helpful.
To resize the text, it must be highlighted. If you immediately replace the placeholder text, it is already highlighted.
If the text is not highlighted, click and drag within the text to highlight, as you would in a word processor.
A method that I use and recommend to select text, is to double click the text layer thumbnail. This will highlight all the text on that layer (as well as selecting the Type tool if it was not already selected.
To change the text size, see the next step.
6. Scrubby Slider
Once the text is highlighted, either select the size from the dropdown menu, or use the Scrubby Slider. Move your mouse over the Scrubby Slider, then click and hold and move the mouse either left or right to adjust the size (left to decrease, right to increase, the size).
When using the Scrubby slider, you get a live preview, which is helpful in adjusting size.
7. Type to Replace

The text is now large enough to see clearly to edit. It is highlighted, so whatever I type will replace the highlighted text.
8. Text Color

Text will be added with the Foreground Color. As shown in the next step, the Foreground Color was white, so the text is white.
You can either change the Foreground Color before adding text, or at any time later.
9. Foreground & Background Colors
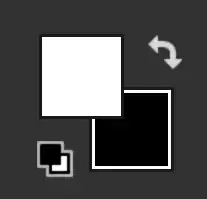
In this example, white is the Foreground Color.
Foreground and Background Colors are an important set of buttons near the bottom of the Toolbar. For more information, see Foreground and Background Colors.
10. Highlight Text
In this image, white is not a great color for the text, as the text merges into the clouds.
Highlight the text you want to change. Select the text layer and the Type Tool. Then click and drag in the text to highlight.
Take care to click on the text. If you don't click accurately, you might add a new empty Type layer.
See the next step for my recommended method of highlighting text.
11. Select Text on Layer

An excellent method to highlight text is to double click on the type layer thumbnail. The Type tool is automatically selected and the all the text on the layer is highlighted. If you only want to highlight some of the text, then click and drag within the text, as you would in a word processor.
The Type Layer thumbnail is highlighted in red.
I strongly recommend this method of highlighting text. It's quick, easy and accurate.
12. Highlighted Text

The text is highlighted.
13. Color Picker
On the Options bar, click in the box to change font color.
This will open the Color Picker.
14. Select a Color

You can either select a color in the Color Picker, or you can select a color directly from your image, which is what I will do in the next step.
To select a color in the Color Picker, select a color in the Color Slider (highlighted in green), then select the tone in the Picked Color (highlighted in pink).
To select a color from the image, see the next step.
15. Sample Color from Image

With the Color Picker open, move the cursor over the image to an area you want to sample from. You can click multiple times to find just the right color. I clicked several times in the green, to find the tone I wanted (highlighted in pink).
For more details see Color Picker.
16. Resample until happy
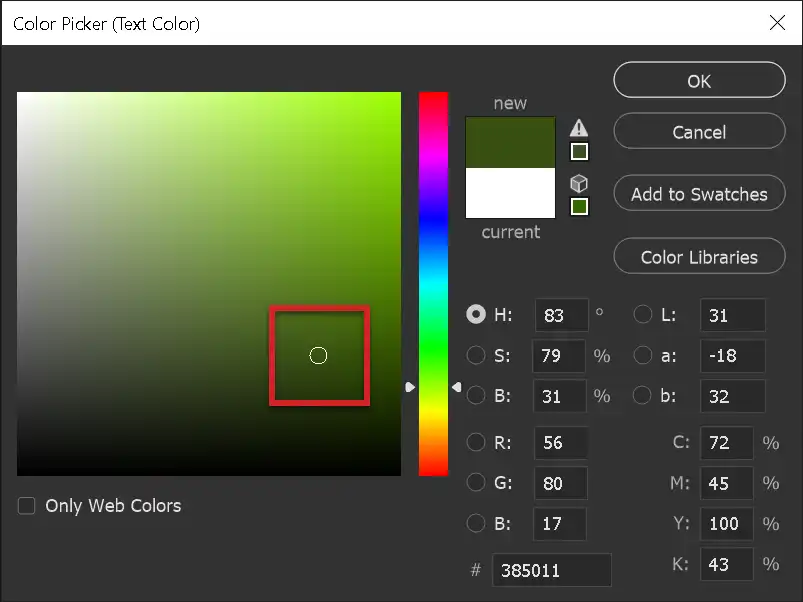
The color sampled from the image is shown in the Color Picker.
If you're not happy with it, click in the image again, until you find what you want.
When you are happy, click OK to close the Color Picker.
17. Confirm Color

After applying the new color and closing the Color Picker, your text is still highlighted.
To confirm the text, either click on a different layer, or click on the tick on the Options bar (highlighted in green).
18. Confirm Text

To confirm the text, click on the Tick button on the Options bar (highlighted in green).
To cancel the change, click on the No Entry button on the Options bar (highlighted in red). This will cancel the change of color.
You can also click on the Enter key on the keyboard to confirm the text - but see the next step, as there are often 2 keys on fullsize keyboards labeled as "Enter" and they do different things.
19. Enter vs Return Keys
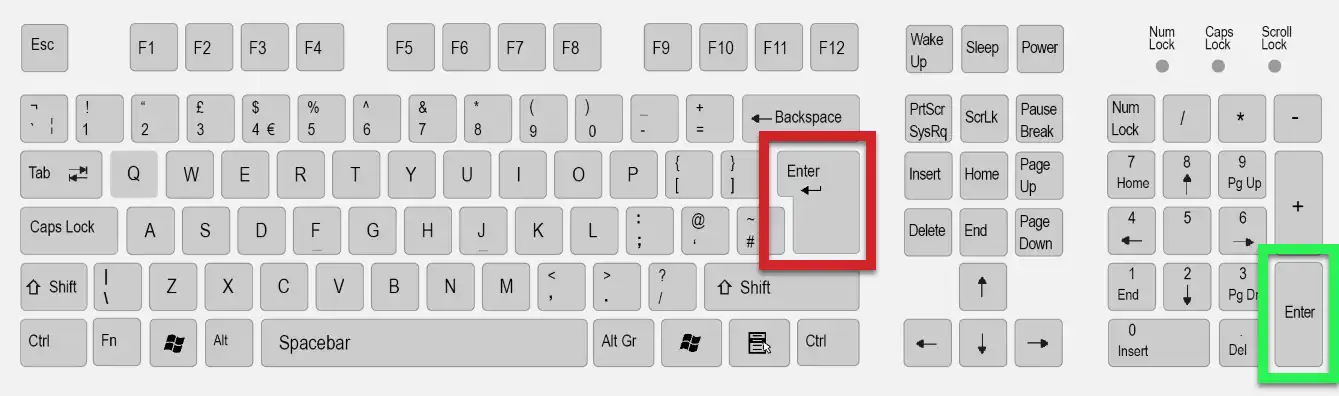
On fullsize keyboards there are often 2 keys both labeled as "Enter". Technically this is incorrect. The key highlighted in red is the Return key and the key highlighted in green is the Enter key.
In most programs they do the same thing (hence both being labeled as "Enter." When using the Type tool, they do different things.
Return (highlighted in red); adds a new line.
Enter (highlighted in green); confirms the text.
When text is highlighted, if you press the Return key (red), the highlighted text is replaced (deleted) by the new line. If this happens, Undo (Ctrl + Z, or use the History Panel) and press the Enter key (green).
20. Point Text
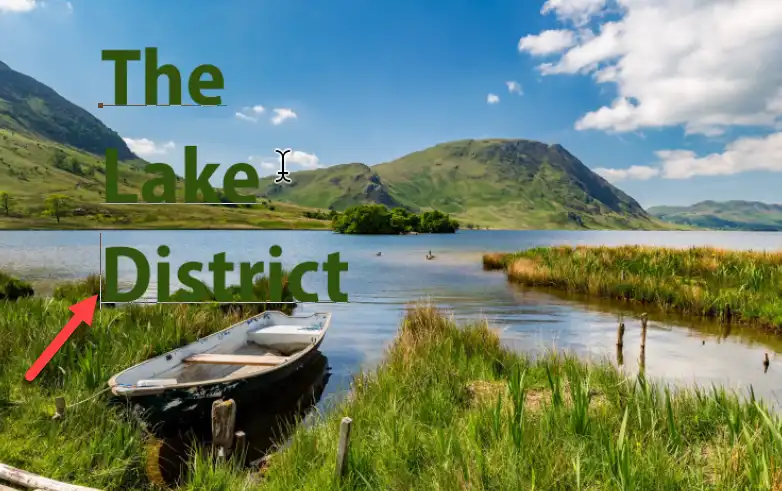
The text we have entered is Point Text, which does not wrap automatically. If you want text on different lines, you must do this manually.
Click to insert the cursor at the point you want a new line to start and press the Return key (not the Enter key - see above). The cursor is highlighted with the red arrow.
How to use Paragraph Text
The steps above detail how to insert and use Point Text, which does not automatically wrap.
The alternative is to use Paragraph Text, which does wrap within a textbox. We will look first at inserting Paragraph text.
You can also convert Point text to Paragraph Text and vice versa.
21. Click and Drag

To insert Paragraph text, instead of just clicking in the image, click and drag to create a textbox.
22. Placeholder Text
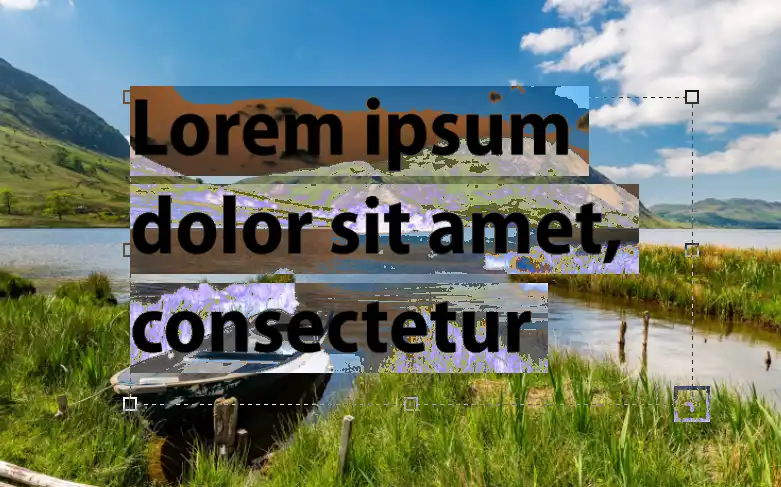
When you release the mouse button, placeholder text is automatically inserted, unless you have turned this option off in Preferences. See Step 4, above.
This textbox isn't quite wide enough for the text on one line, so it has automatically wrapped to a new line.
To increase the size of the textbox, click and drag one of the "handles", which are in each corner and halfway along each side, as highlighted in red.
23. Resize Textbox
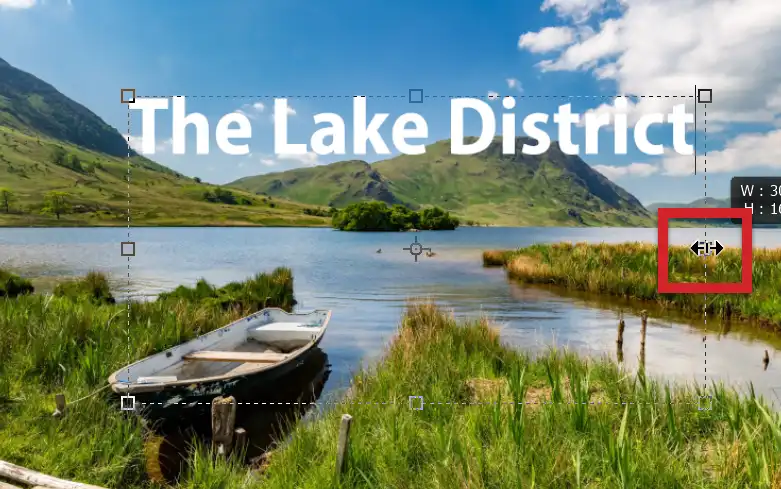
This screenshot show the double headed arrow over the right handle, indicating resizing. I have dragged this handle so the textbox is just wide enough to show all the text on one line.
24. Resized Textbox
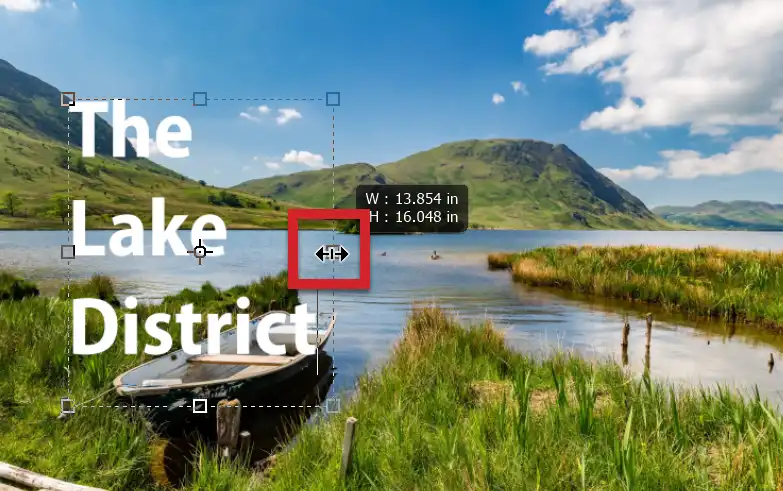
This screenshot shows I have dragged the same handle to the left to make the textbox narrower, so the text has wrapped accordingly and is now on 3 lines.
25. Move Textbox
To move a textbox, you could use the Move tool, but it's quicker to move it while still using the Type tool. If the text is highlighted and you press and hold the Ctrl key, you will see the cursor change into a black arrow. Click and drag to move.
26. Text Alignment
Paragraph Text is contained within a textbox and you can choose text alignment within the textbox; Left, Centre, Right. Just click on the desired button. You don't need to highlight the text to change alignment.
I have changed alignment to Centre Align.
27. Move Text
While text is highlighted, if you move the cursor a little way away from the text it will turn into a black arrow with a 4-way arrow, indicating you can click and drag to move.
28. Rotate Text

While text is highlighted, if you move the cursor just outside the text, (but closer than the previous step), you will see a double-headed curved arrow, indicating you can rotate the Type layer.
29. Edit Text
While text is NOT highlighted, if you move the cursor just outside the text, you will see the I-bar icon, indicating you can click within the text to edit (like word processors).
Switch Between Point & Paragraph Text
Whichever text you start with, either Point or Paragraph Text, you can easily switch back and forth between them at any time.
30. Convert to Point Text

If the text is Paragraph Text, right click on the Type layer and select Convert to Point Text.
31. Convert to Paragraph Text

If the text is Point Text, right click on the Type layer and select Convert to Paragraph Text.
Summary of the Horizontal Type Tool
The Horizontal Type Tool is often just referred to as the Type Tool, as it's the most commonly used Type Tool. It's a great tool for entering and editing text in an image.
The above guide takes you through the basic steps of using the tool, but there is a lot more to it, especially when also using Layer Styles.