Page updated: 11 April 2026
Color Replacement Tool
The Color Replacement Tool allows you to change the colour of a targeted area, replacing that color with an alternative that you choose.
This tool works destructively, which means that it makes changes directly to the pixels on a layer. It's always a good idea to preserve the original, so this would mean working on a duplicate layer. There are alternative methods, which I prefer, as they are non destructive and a lot more versatile. See here for an excellent alternative method to replace a color non-destructively.
If working non destructively is acceptable, then the tool can perform a quick and easy change of color.
One thing to note is that this tool may not work perfectly with darker colors, which Adobe themselves acknowledge.
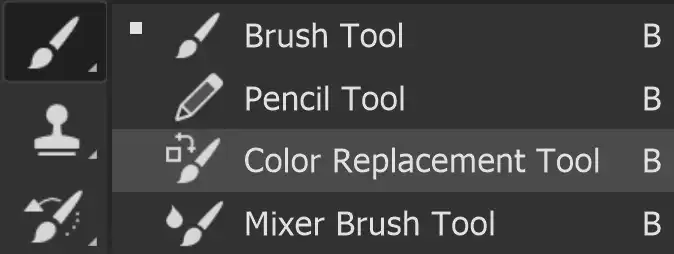
Color Replacement Tool Options
ON THIS PAGE
Tool Presets

You can create and save a Tool Preset for any tool, which will remember settings that you choose for that tool, so you can quickly and easily select different presets and settings for a particular tool. The degree of usefulness of presets varies, depending on the tool.
You can reset any tool back to its default settings by right clicking on the Tool Presets button and select Reset Tool. Take care not to Reset All Tools, unless that is intended.
Brush Presets Picker
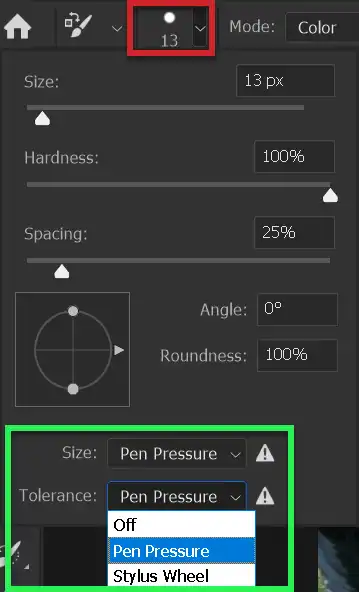
Click on the button highlighted in red, to reveal the panel.
You can change brush size, hardness and spacing. A better method for changing brush size is to use the square brackets keys [ ]. [ reduces brush size. ] increases brush size. These are quick and easy to use.
You can change roundness and angle, but most of the time, when using the brush, a round brush will do perfectly fine.
This panel is very similar to the Brush Presets Picker, except you can't choose different brushes.
Size and Tolerance are highlighted in the green box. These relate to pressure sensitive tablets and tablets with a thumb wheel. Both have the same options; Off, Pen Pressure and Stylus Wheel. If you use a regular mouse, you can ignore these. On the Options bar there are buttons for Pressure Sensitive Size and for Tolerance. See below.
Mode
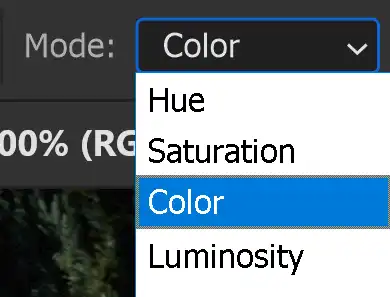
Select a Mode to make changes to Hue, Saturation, Color, or Luminosity. Probably the most commonly used is Color mode, which is the default setting.
Hue Change the colour
Saturation
Color
Luminosity
Sampling
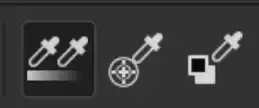
There are 3 sampling options

Continuous Sampling. As you drag the cursor through the image, it will continuously sample the color.

This replaces the targeted color in the areas that contain the color that you select.

This replaces only the areas that contain the currently selected background color.
Limits
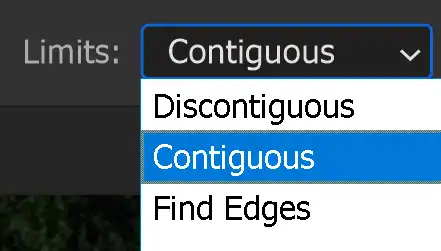
Dis contiguous - This replaces the color everywhere the cursor moves over.
Contiguous - This replaces the color that are contiguous, i.e. touching other similar areas, everywhere the cursor moves over. I would suggest using this option.
Find Edges - This replaces the color in areas that are connected, aiming to better preserve the sharpness of the shape edges
I suggest starting with Contiguous, which is the default option for the tool. If this doesn't quite give you what you want, try Find Edges.
If neither of these work well, then you may be better off using another tool and technique.
Tolerance

A low tolerance will replace colors very similar to the pixel you select. A higher tolerance will replace a wider range of colors.
Anti-alias


Anti-alias smoothes out pixelated lines and edges.
The top segment of a circle is without Anti-alias.
The bottom segment of a circle is with Anti-alias.
Brush Angle

If you have a non round brush, you can change the angle of the brush.
It won't make any difference on a round brush.
Pressure Sensitive Size

If you have a pressure sensitive pen and tablet, you can turn on this option, so brush size is controlled by the pen pressure. If this is off, size will be controlled by brush settings.
For non pressure sensitive users, the best way to change brush size is with the square brackets keys [ ].
How to use the Color Replacement Tool

There are better methods for replacing color, but here is how to use the Color Replacement tool. We will change the blue on the car to red.
1. Select Color Replacement Tool

Select the Color Replacement Tool from the toolbar. Like most tools, it shares the button with other tools and the one that is visible will be the last tool used.
2. Click Foreground Color
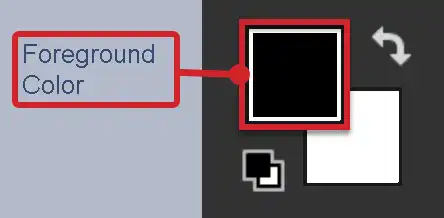
Click in the Foreground Color. In this screenshot it's the black square. The Foreground Color is always the square "on top". The square beneath is the Background Colour. Note that you can switch these by clicking the curved arrow button, or better yet, just pres X on the keyboard.
3. Click in Color Slider
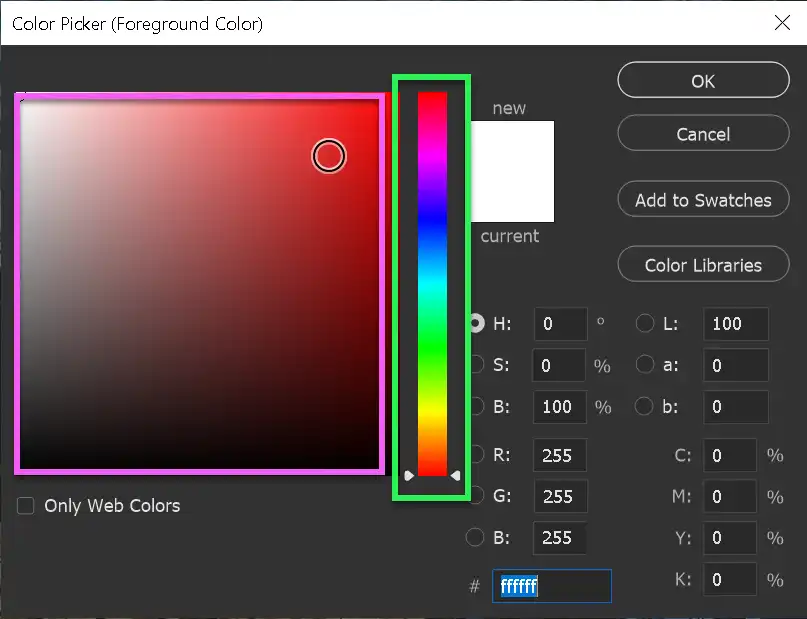
Click in the Color Slider (the vertical bar highlighted in green) and select a colour.
Then click in the Picked Color area (large square highlighted in pink).
4. Click in Picked Color
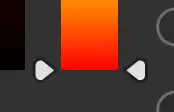
You can also click and drag the small white triangle, at the bottom of the Color Slider, to more accurately select a color.
Then click in the Picked Color area to select a color.
5. Foreground Color
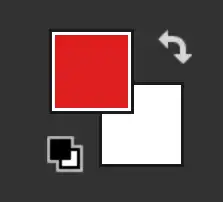
The Foreground Color will now show the colour you selected.
6. Duplicate Layer

Duplicate your layer by right clicking on the layer and select Duplicate Layer...
When you paint, it will replace the pixels on the layer, which is destructive editing. To preserve the original, it is good practice to work on a duplicate layer.
When you paint, it will replace the pixels on the layer, which is destructive editing. To preserve the original, it is good practice to work on a duplicate layer.
7. Adjust Brush Size
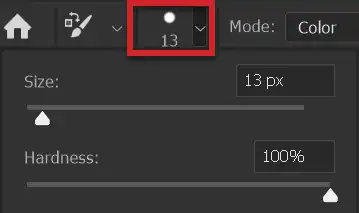
Adjust brush size. Select the Color Presets button on the Options bar (highlighted in red).
I suggest not massive and not too small, although this is not critical. If you have a keyboard, you can adjust brush size using the square brackets keys [ ]. Left square bracket [ to decrease size. Right square bracket ] to increase size.
8. Keep + (plus) over target
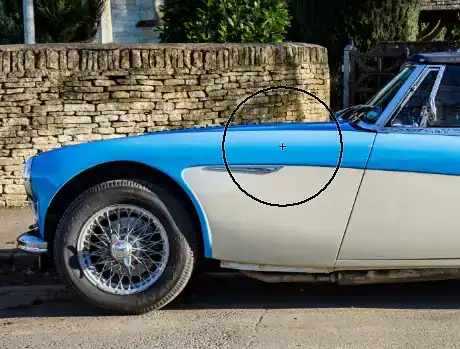
This brush size is a bit large, although you could work with it. The key is keeping the small plus + over your target area.
9. Zoom in

This brush size is a bit small for the main areas, although for detail you will need to zoom in (sometimes a lot) and use a smaller brush.
10. Don't put + sign outside target
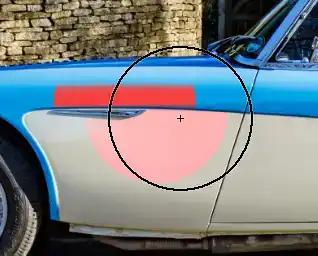
It is critical that you don't let the + (plus sign) in the center of the brush move outside your target area. In this screenshot I've gone over the cream, so that is now being replaced by the red.
11. Paint to replace color
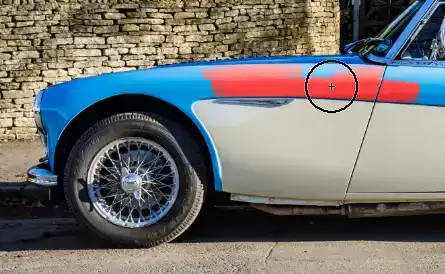
Here I'm keeping the center of the brush (+) over the target area and painting. The color is being replaced.
12. Zoom in for detail
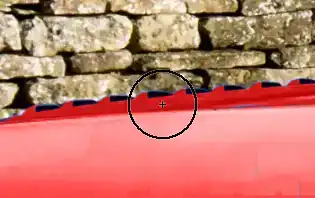
For smaller areas, zoom right in and use a smaller brush.
13. Small brush for detail
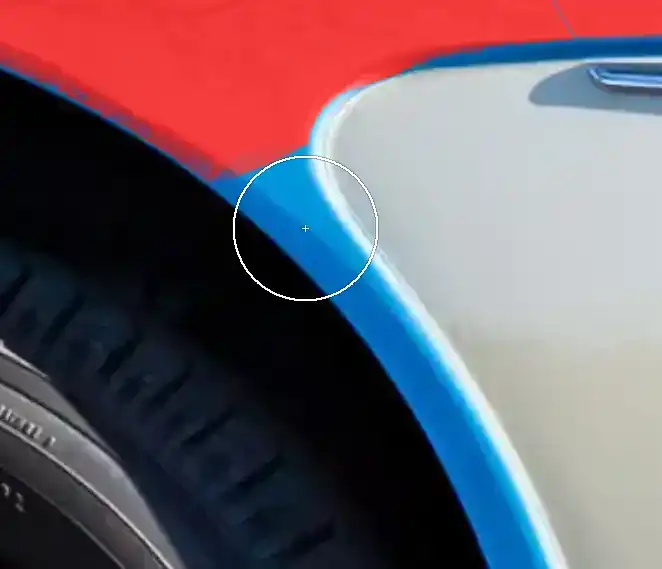
For smaller areas, zoom right in and use a smaller brush.
14. Zoom in a lot
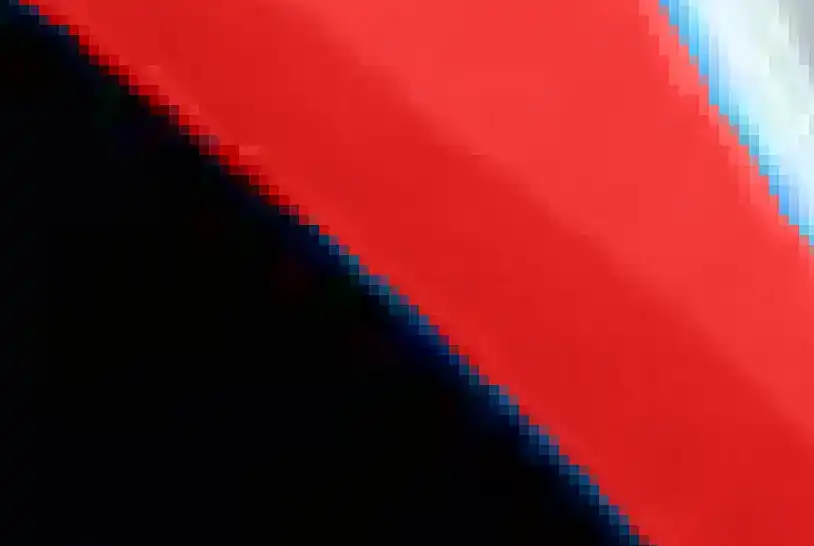
For smaller areas, zoom right in and use a smaller brush.
In this area, which is the edge of the front wheel arch, you must be very careful to paint over the edges, without painting beyond the edges. Zoom in heavily.
15. Discontiguous
When you end a stroke and begin a new stroke, you often see some unchanged areas. Zoom in, reduce brush size, select Discontiguous from Limits and paint over them. It can take persistence.
As I said above, there are methods that I recommend instead of the Color Replacement tool, especially for larger or complicated subjects.
One thing that avoids this is not stopping a brush stroke. Try to paint one area before releasing the mouse button. This is not an ideal way to work, because if you go outside your target area, you may want to undo the stroke and that could have taken you a while.
16. Finished result

The finished result.
Summary of the Color Replacement Tool
The Color Replacement Tool is a handy way to replace colour in an image. However, it does so destructively, which means that it makes changes directly to pixels. You should therefore use it on a duplicate layer, to preserve the original, which is always good practice when editing.
See here for an excellent alternative method to replace a color non-destructively

