Page updated: 05 April 2026
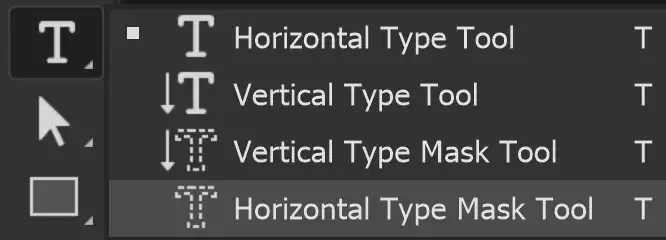
Horizontal and Vertical Type Mask Tools
The Horizontal and Vertical Type Mask Tools work in the same way. They allow you to create a selection of text in the shape of type, rather than adding a type layer.
Horizontal Type Mask Tool Options

Tap to view full size
Rotate your phone for easier reading
ON THIS PAGE
Tool Presets
You can create and save a Tool Preset for any tool. This will remember settings that you choose. Presets for brushes are much more useful than for some tools. If you wish to use presets, you have the option of either creating a tool preset or a brush preset. Right click on the Tool Presets button to reset the tool to default settings.
Text Direction
Toggle to change the direction of the text between horizontal and vertical.
Fonts
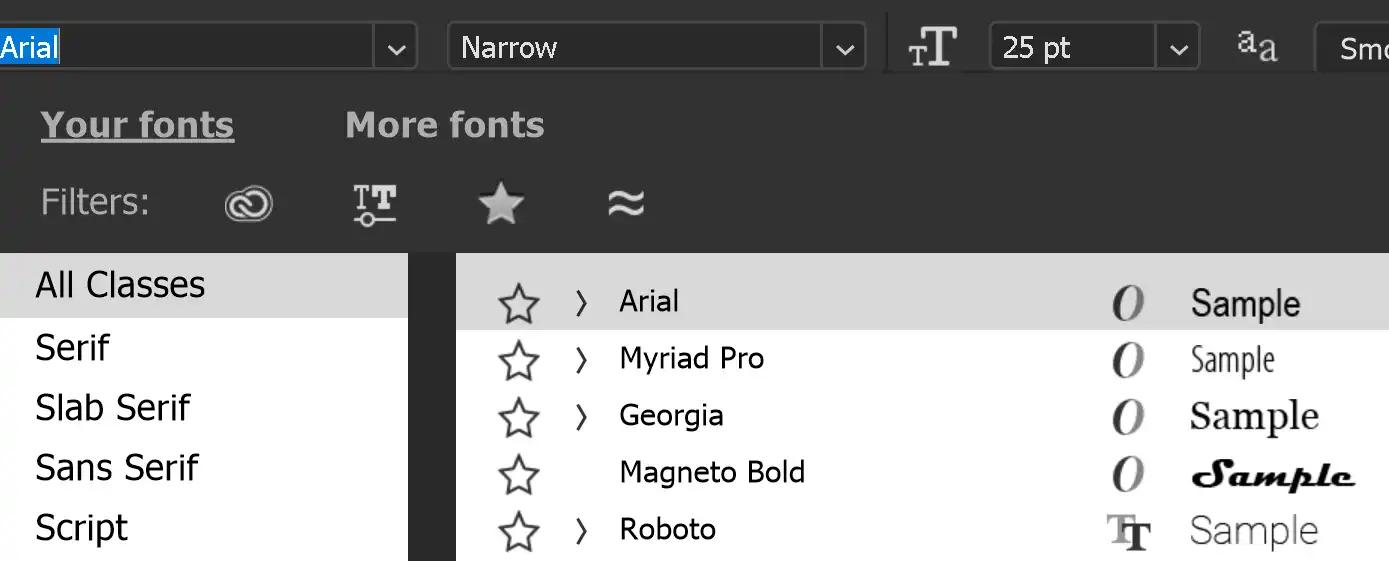
Search for fonts, filter fonts, see a preview of the font, add to your Favorite fonts
You can filter the fonts; Show Adobe Fonts (highlighted in red). Show Variable Fonts (highlighted in green). Show Favorite Fonts (highlighted in pink). Show Similar Fonts (highlighted in blue).
Font Style

Select the style of font. This will vary, depending on the font. Some have many styles and others only have a few styles available.
Font Style Scrubby Slider
This is a great way to change font size. Highlight the text, then click on the Scrubby Slider and drag to the right or left. Look for the icon of the hand with the left and right arrows.
Dragging to the left will decrease the font size and dragging to the right will increase the font size.
As you drag, you get a live preview of the size.
Font Size
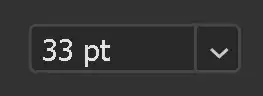
The Scrubby Slider (immediately above) is a great way to change font size, with a live preview, but you can also change font size with this drop down list.
This is the same as in word processors. If you need a specific font size, select it from this list.
Anti Alias Method

Anti-alias smoothed out lines, which of course, there are a lot of in text. There are some options for different anti-alias methods. Try them out and see which you prefer.
Text Alignment
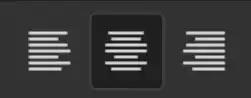
This works the same as in word processors and email programs. Align text to the Left, Centre, or Right.
This option is only valid in Paragraph Text, where text is within a box, not Point Text.
Font Color

Click in the Font Color box to open the Color Picker to choose a color.
For more details see Color Picker.
Warp Text
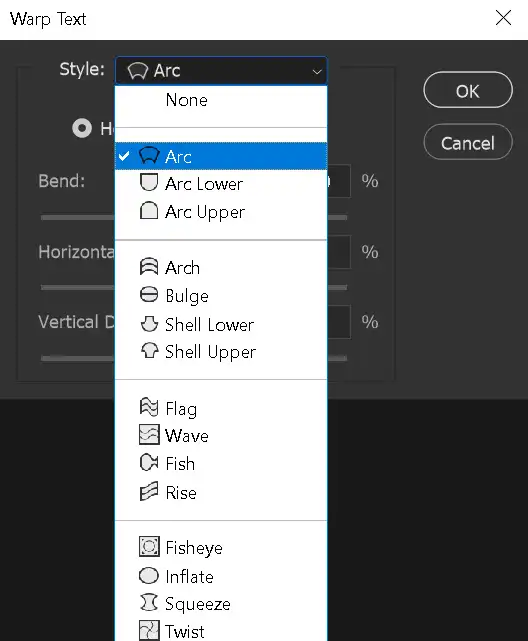
Click on this button to open the Warp Text options.
Character and Paragraph panels
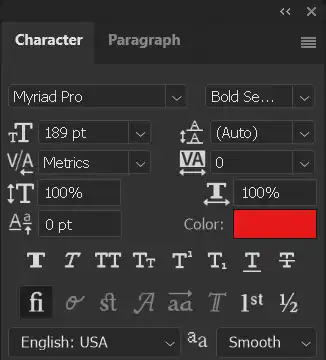
Click on this button to open the Character and Paragraph panels.
There are lots of options in each of these panels to format your text.
How to use the Horizontal Type Mask Tool

The Type Mask Tools (Horizontal and Vertical) create a selection in the shape of the letters and fonts that you type.
You can then either delete the pixels, or add the selection to a Layer Mask, to achieve the effect shown here.
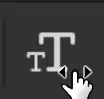
1. Horizontal Type Mask Tool
Select the Horizontal Type Mask Tool from the toolbar. Like most tools, it shares the button with other tools and the one that is visible will be the last tool used.
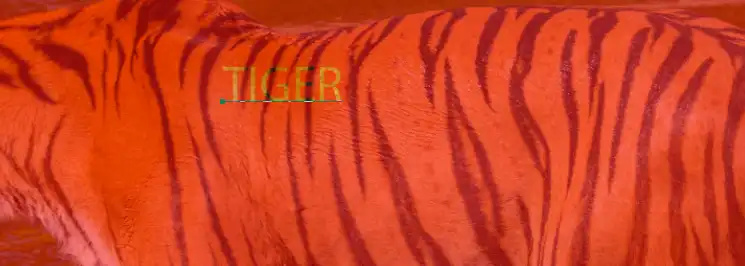
2. Original Image

This is the original image, before we use the Horizontal Type Mask Tool.
The green highlight shows the cursor in position, before clicking.
3. Placeholder Text
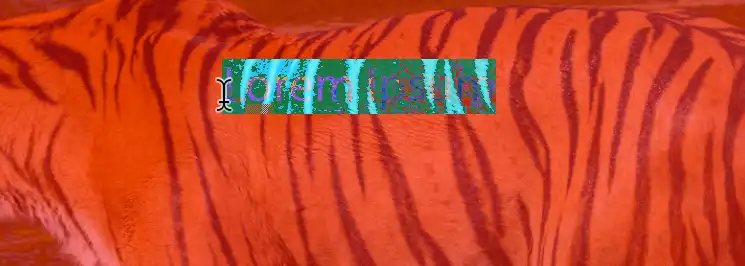
The moment you click in the image, the Lorem Ipsum placeholder text appears.
The text is already highlighted, so you can just type your text. It will replace the placeholder text.
Placeholder text is intended as temporary text to help you edit your design if you haven't yet decided on the actual text you want to use.
4. Type your Text
I have typed "TIGER". I'm using uppercase (capital letters) deliberately as there will be a consistent size to the letters.
5. Apply Text
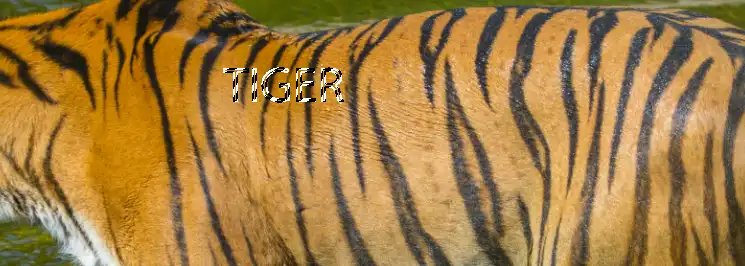
Don't press Enter yet to apply your text.
When you apply the text (by pressing Enter or clicking the tick), you will see a selection around your letters. This is too small and I also want to select a different font, with wider letters, so more of the tiger image shows through.
So, only apply the text when you are happy with the font and size.
6. Font Size
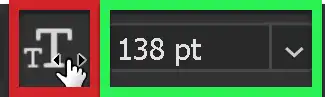
Adjust the font size either by clicking and dragging on the Scrubby Slider, or by clicking on the dropdown arrow, then selecting a font size.
The Scrubby Slider shows you a live preview, adjusting the size of the text while you drag, so that's great for accurate sizing.
7. Font Style
While the text is highlighted, choose a font. For this type of effect, I prefer thicker fonts, so more of the image shows through the letters.
8. Commit the text
Click the Tick on the Options bar to commit the text.
On a fullsize keyboard, press the Enter key (bottom right of the keyboard), NOT the Return key (under the Backspace key). Pressing the Return key while text is highlighted, will replace the highlighted text with a new line. Undo.
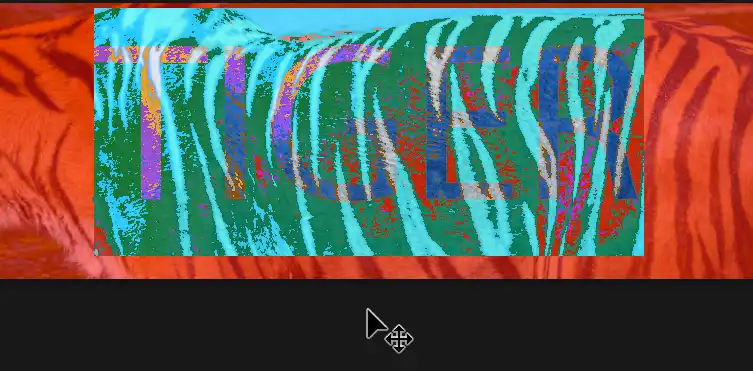
9. Text confirmed

When you confirm the text, you will see a selection of the text.
10. Add Layer Mask
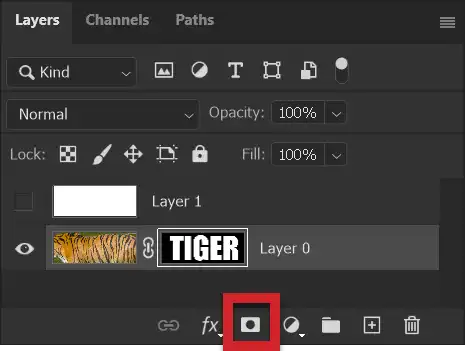
Select the tiger image layer.
Add a Layer Mask by clicking on the Layer Mask button at the bottom of the Layers panel.
A Layer Mask is added, clearly showing the text TIGER on it.
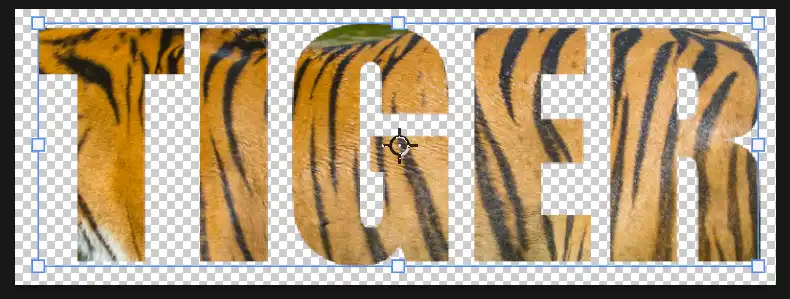
11. Layer Mask Applied
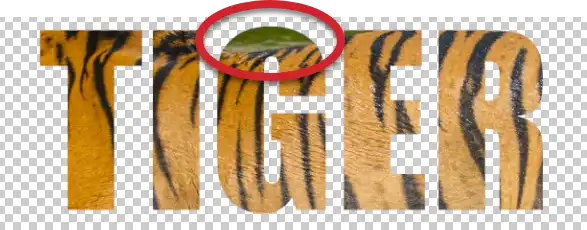
The Layer Mask has masked everything except the TIGER text.
The red highlight shows an area of green, behind the tiger, that I'm not happy with. It's often the case that you will want to reposition the image behind the mask.
If you deleted pixels, instead of adding a Layer Mask, you will not be able to do this. Deleting pixels is destructive editing, where actual changes are made to pixels. Layer Masks are non-destructive and are a better and more flexible way of working.
12. Select Mask or Layer
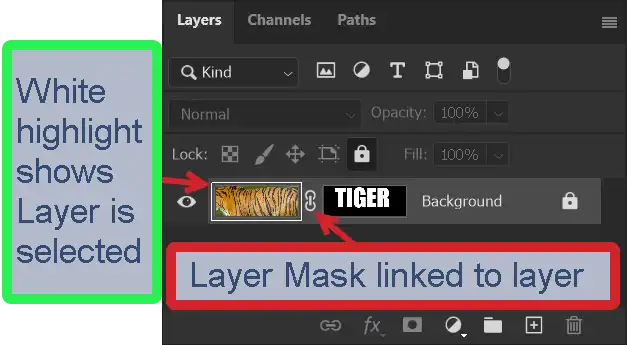
When using Layer Masks, be aware of whether the layer, or the mask is selected. The white highlight indicates which is selected. Here the layer is selected.
By default, Layer Masks are linked to the layer, indicated by a chain icon. When you move the layer, the mask moves with it.
13. Select Layer Mask
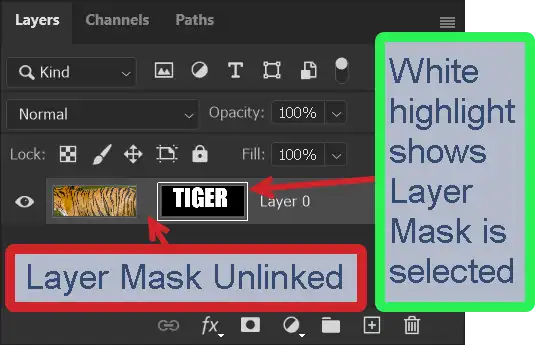
Click on the Layer Mask to select it.
The Layer Mask is selected, as indicated by the white highlight around it. This allows us to move the mask, independently from the layer.
Click the chain icon to unlink the mask from the layer. Now when the layer is moved, it moves independently from the mask. This will allow us to position the tiger image how we want, so we can control what part of the tiger is visible through the mask.
14. Select Layer

Click back on the layer, anywhere on the layer, except the Layer Mask, to select the layer again. The layer is now selected again, as shown by the white highlight.
15. Select Move Tool
Select the Move tool from the Toolbar.
While the Layer Mask is unlinked, when you click and drag, to move the layer, it will move independently of the Layer Mask and you can position the layer as desired.
You can also resize the layer. On the Move tool Options bar, tick the box to Show Transform Controls. To resize, click and drag on a handle.
16. Unlinked Layer Mask
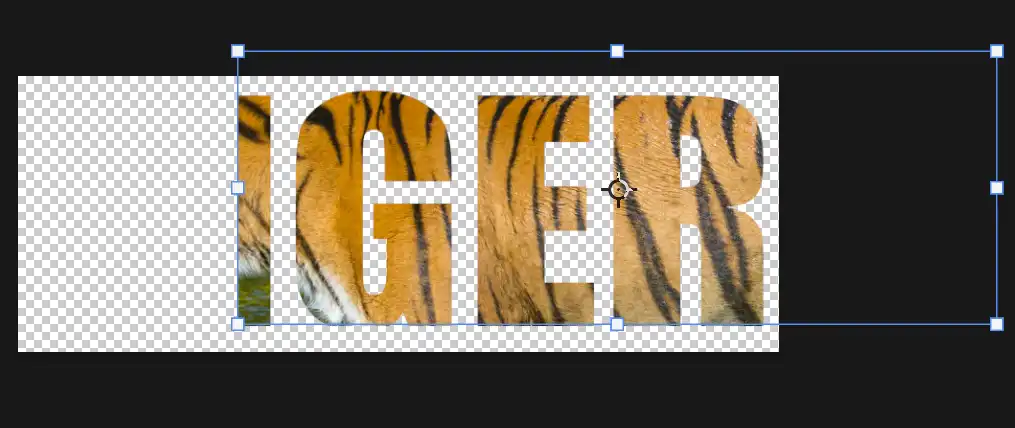
This screenshot shows the layer has been moved, while the Layer Mask has not, because they are unlinked.
17. Relink Layer Mask

I have slightly repositioned and enlarged the tiger layer, so I don't see the part of the green background and also to ensure the black stripe runs down the letter "T".
If I now wanted to move both layers together I would link them by clicking the empty area between them, where the chain icon will reappear, indicating they are linked.
Summary of the Horizontal Type Mask Tool
The Horizontal Type Mask Tool is useful for creating some great effects with text against an image.
Happy editing!