Page updated: 12 April 2026
Art History Brush Tool
The Art History Brush Tool allows you to a part of an image from a previous History State. In the History panel you can return to any History State (while the document is open), but that would return you to the entirety of that state, losing all the other editing that came after it.
The History Brush allows you to paint just the part of that state you wish to restore, leaving all the other editing unaffected, that took place after that state.

Art History Brush Tool Options

ON THIS PAGE
Tool Presets

You can create and save a Tool Preset for any tool, which will remember settings that you choose for that tool, so you can quickly and easily select different presets and settings for a particular tool. The degree of usefulness of presets varies, depending on the tool.
You can reset any tool back to its default settings by right clicking on the Tool Presets button and select Reset Tool. Take care not to Reset All Tools, unless that is intended.
Brush Presets

Click to show or hide the panel.
Brushes Panel

Click to show or hide the panel.
You can change brush size, hardness and spacing. A better method for changing brush size is to use the square brackets keys [ ]. [ reduces brush size. ] increases brush size. These are quick and easy to use.
You can change roundness and angle, but most of the time, when using the brush, a round brush will do perfectly fine.
Mode

Mode allows you the option of a few different modes. I suggest that Normal is perfectly fine, but if you feel adventurous, you could experiment with these to find the ones you like.
Below, in the step by step tutorial, I include one example of using Color Mode.
As with all artistic options, my preferences may not be yours. Experimentation is a valuable learning exercise, both to discover what you like and also learn more about the tool you are using.
Also below in the step by step tutorial, I suggest a good method of recording different options you may experiment with.
Opacity
You can change the opacity you paint with. However, I suggest you paint onto an empty layer, which gives you more flexibility. If you do so, you also have the option to change the layer opacity.
Pressure Sensitive Opacity
If you have a pressure sensitive tablet and pen you can control opacity with the strength you press the pen.
Style
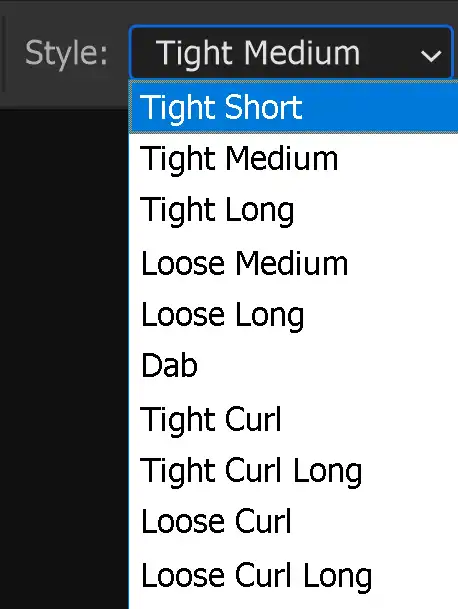
There are several styles to choose from. Experiment and find your preferences.
Area
This controls the amount of area covered by paint strokes and the number of paint strokes.
Tolerance
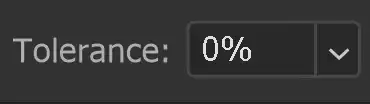
This controls how closely the brush follows the original colors of the image. A lower tolerance value will result in a smoother painting with more mixing between colors.
Brush Angle
If you have a non round brush, you can change the angle of the brush.
It won't make any difference on a round brush.
Pressure Sensitive Size
If you have a pressure sensitive pen and tablet, you can turn on this option, so brush size is controlled by the pen pressure. If this is off, size will be controlled by brush settings.
For non pressure sensitive users, the best way to change brush size is with the square brackets keys [ ].
How to use the Art History Brush Tool

The Art History Brush tool allows you to make a photo look like a painting. It's quick and easy to use, although it doesn't give as much control as other painting tools, such as the Mixer Brush.
1. Art History Brush Tool
Select the Art History Brush Tool from the toolbar. Like most tools, it shares the button with other tools and the one that is visible will be the last tool used.
2. Use at small size

I recommend using this brush at a very small size, smaller than with other brushes. When used at a large size, or even its default size, for me at least, it produces a very unsatisfactory result.
The image I'm working on is 3000px x 2000px. All the following examples are with a brush size of 8px.
3. Work on empty layer
I also recommend working on a new empty layer. This gives you the flexibility to turn the painting on and off, with layer visibility. It also gives you the ability to edit a part of the painting and redo just that part. You can also reduce layer opacity and try different blend modes.
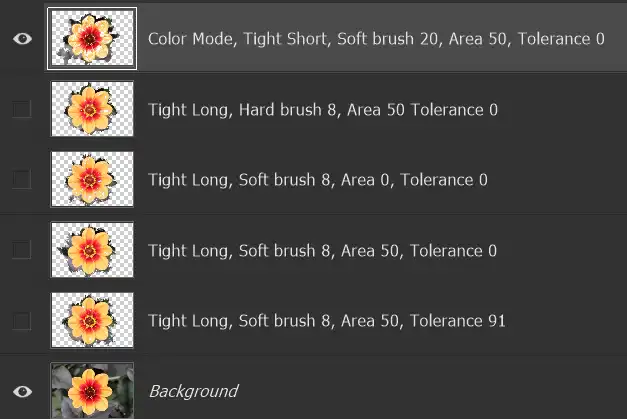
Experimentation is useful with painting tools. There are so many combinations of different settings. Here I have tried 4 different sets of settings, each on a separate layer, which I can then turn on and off, to get an idea of differences.
Double click the layer name to rename it and I suggest using a name that describes what you did on that layer.
4. Different Styles
The Style dropdown box contains several different styles. Personally, I don't like any of the Curl styles, or the Dab. All my examples are using the Tight Long style, as referenced in the previous step in layer names.
The following 4 steps show the examples in the same order as the Layers, from step 3.
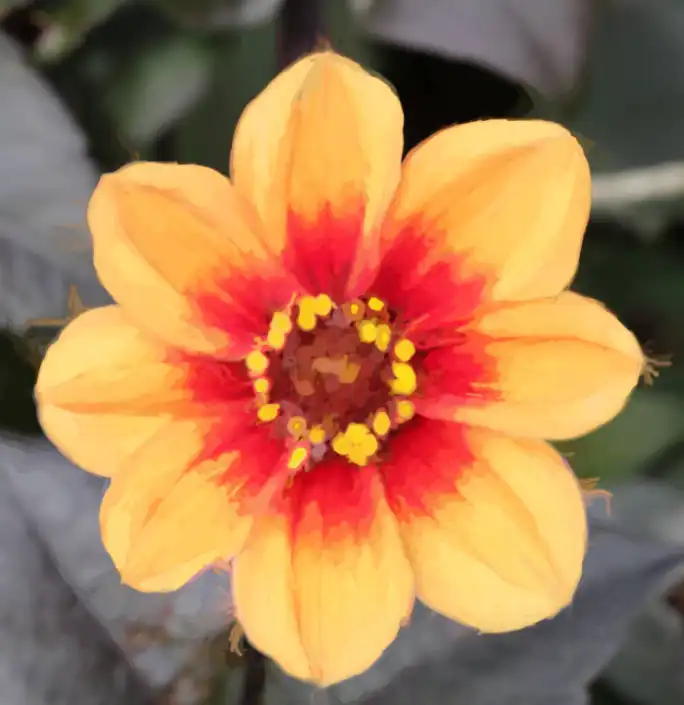
5. Color Mode


Color Mode was selected for this example. All the others were on Normal mode. This is the only one that looks significantly different.
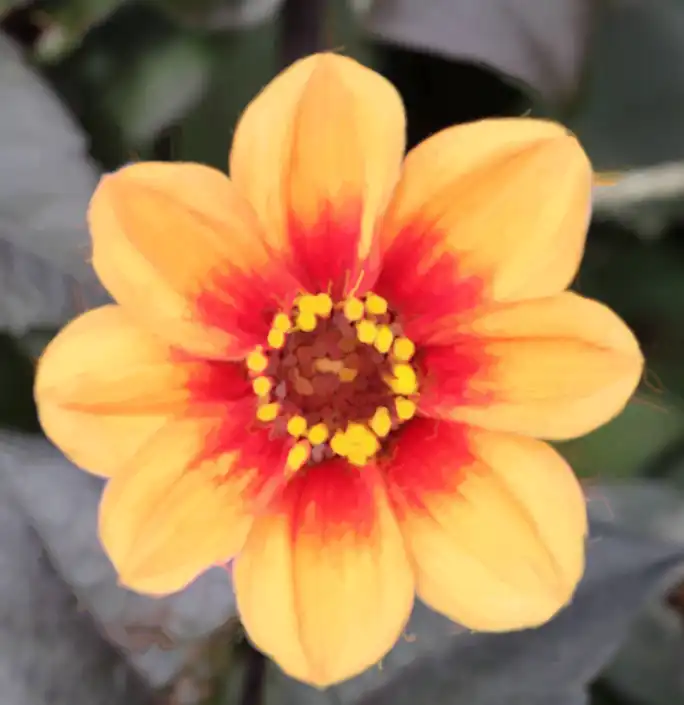
6. Normal Mode


This and the following 3 examples were all using Normal mode and despite varying the Area and Tolerance settings, while keeping the Style and Brush Size consistent, there is not much worthwhile difference.
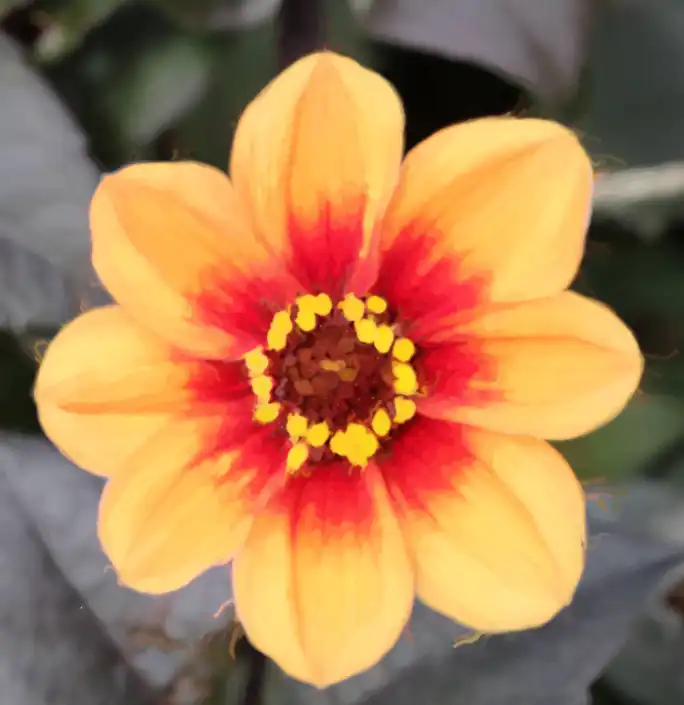
7. Normal Mode

8. Normal Mode

9. Normal Mode

Summary of the Art History Brush Tool
The Art History Brush Tool is a quick, rough and ready method to give a photo a painterly look. Personally I prefer other tools for painting, such as the Mixer Brush, as there are so many other options and you have more control over the painting.
Happy editing!