Page updated: 24 March 2026
Path Selection Tool
The Path Selection Tool allows you to select, move and edit paths and shapes.
It shares the button on the Toolbar with the Direct Selection Tool and there is sometimes some confusion over the two tools.
The Path Selection tool is used for moving or selecting paths or shapes. The Direct Selection tool is used for modifying the shape of a path or shape.

Path Selection Tool Options
ON THIS PAGE
Tool Presets

You can create and save a Tool Preset for any tool, which will remember settings that you choose for that tool, so you can quickly and easily select different presets and settings for a particular tool. The degree of usefulness of presets varies, depending on the tool.
You can reset any tool back to its default settings by right clicking on the Tool Presets button and select Reset Tool. Take care not to Reset All Tools, unless that is intended.
Select
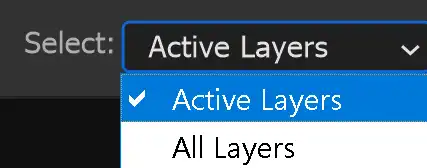
Choose whether to select All Layers or Active Layers.
Fill
If the path creates a shape, i.e. it is not a straight line, then Fill will fill the area with the chosen color, gradient or pattern.
Click to open the Fill Type and Color panel, shown below.
Note that Fill and Stroke panels are identical, but when the panel is opened from Fill, options will change the Fill settings.
Fill Type and Color
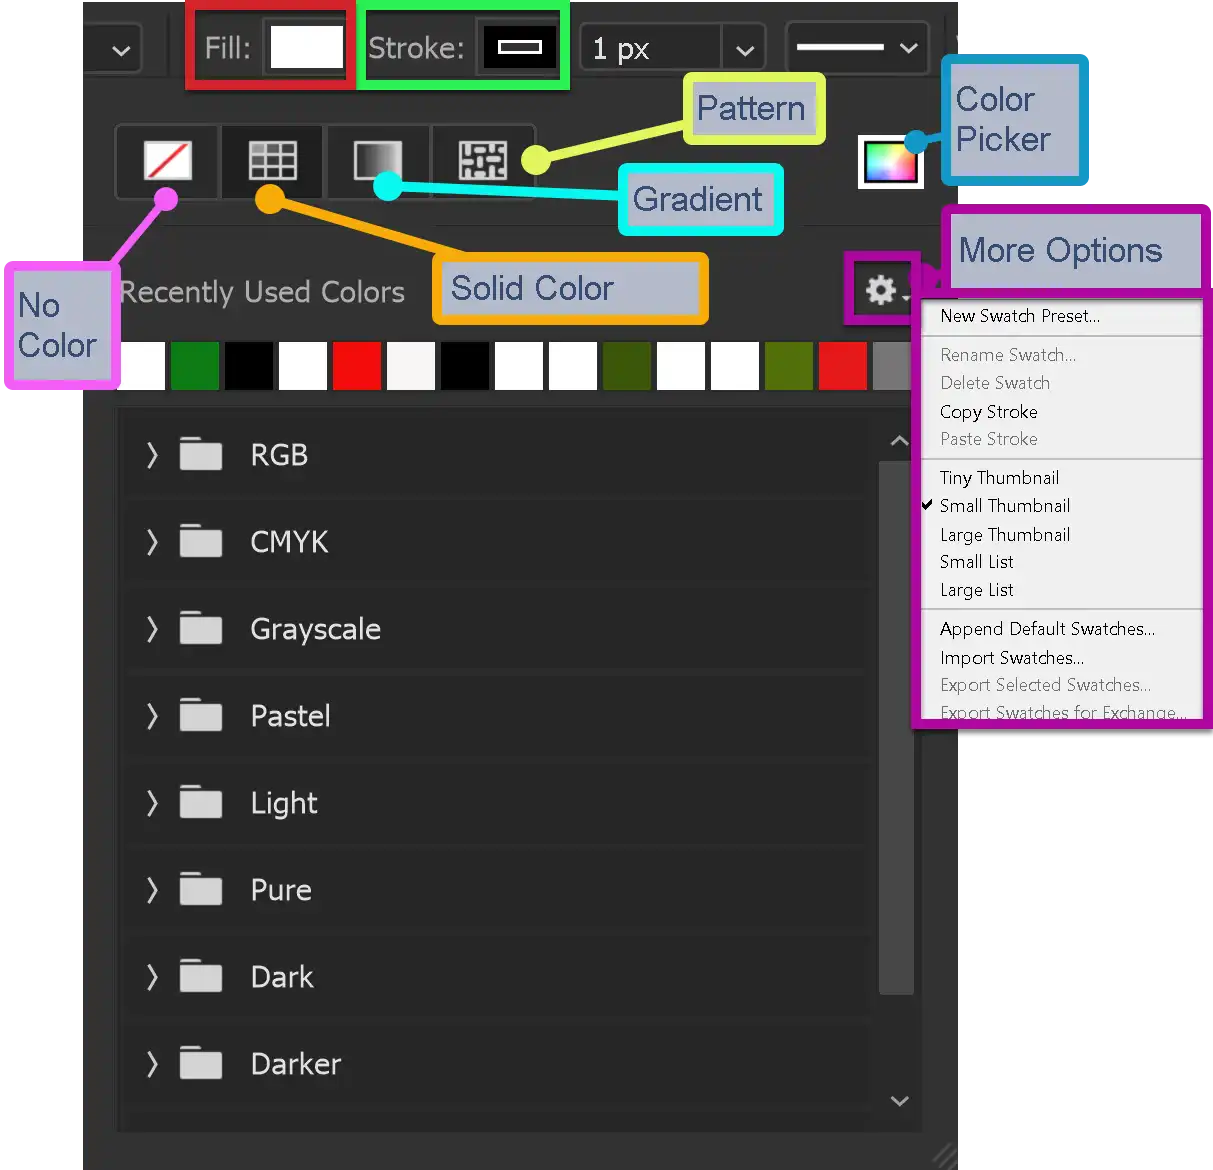
Choose from different Fill styles: Solid Color, Gradient, Pattern.
You can also select from recently used colors, or from a range of colors, arranged in various groups.
Stroke Size Scrubby Slider
A Stroke in Photoshop is an outline. Strokes can vary in width, color and style.
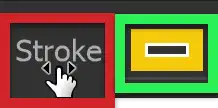
You can adjust Stroke Width either with the dropdown size box and the slider, or directly, using the Scrubby Slider (highlighted in red).
Move the cursor over the word "Stroke" and watch for the cursor to change to a hand+arrows. Click and drag to the left to decrease, or to the right to increase the width of the stroke. While dragging, you get a live preview, which is very useful.
The Stroke options are highlighted in green. Click to open the panel shown below.
Stroke Type and Color

Choose from different Stroke styles: Solid Color, Gradient, Pattern.
You can also select from recently used colors, or from a range of colors, arranged in various groups.
Note that Fill and Stroke panels are identical, but when the panel is opened from Stroke, options will change the Stroke settings.
Stroke Options
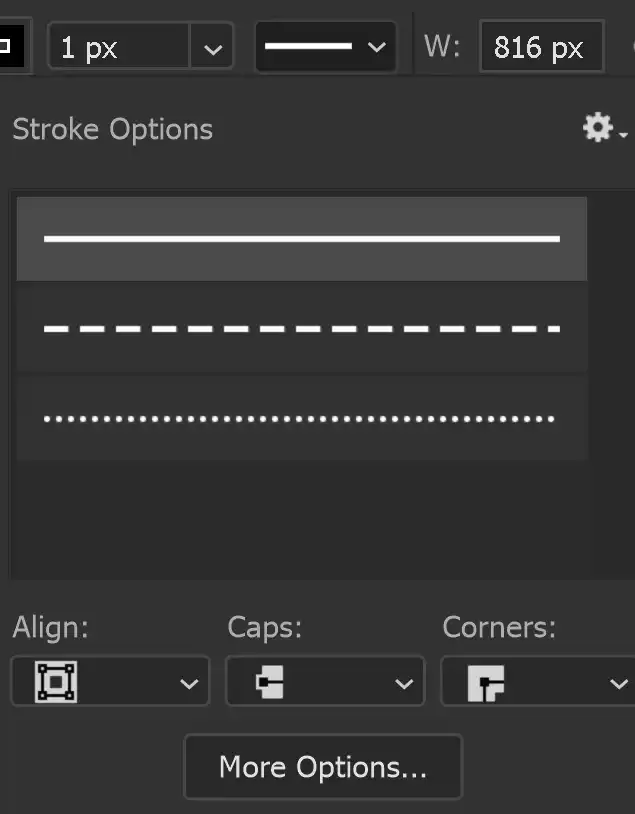
Choose the line style of the stroke and also choose options for Align, Caps and Corners.
Align: Align the Stroke Inside or Outside the path, or Centered on the path.
Caps: Caps are the beginning and end of a line. Choose from Butt, Square or Rounded Caps.
Corners: Where you have corners in a path, choose from Round, Bevel or Miter.
More Options: You can also select the above 3 options in More Options. You can also customize a Dashed Stroke.
Width and Height

This works the same as in word processors. Align text to the Top, Middle, or Bottom of the textbox.
This option is only valid in Paragraph Text, where text is within a box. It does not apply to Point Text.
Path Operations
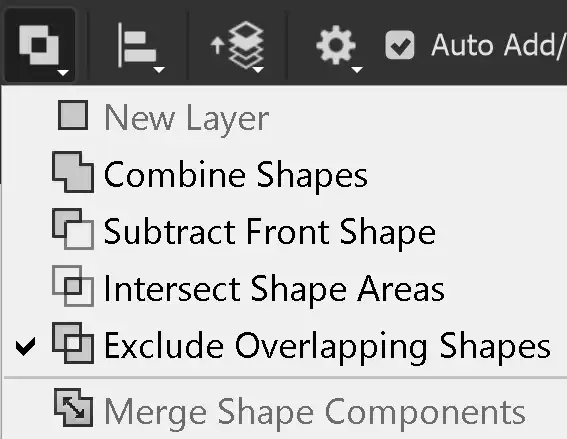
You can combine shapes by adding, subtracting, or intersecting.
Shapes interact in the same way as selections interact. For examples of how selections interact, see Selections Interactions.
Path Alignment
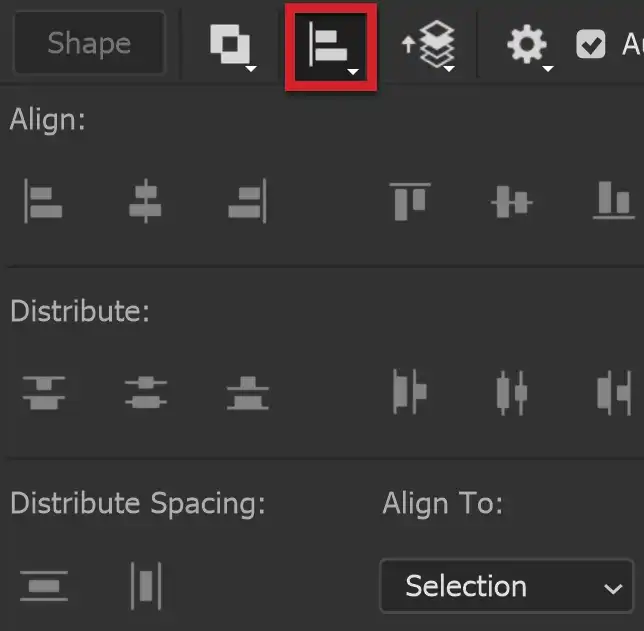
Select options regarding Alignment and Distribution.
For more information, see Align & Distribute.
Path Arrangement
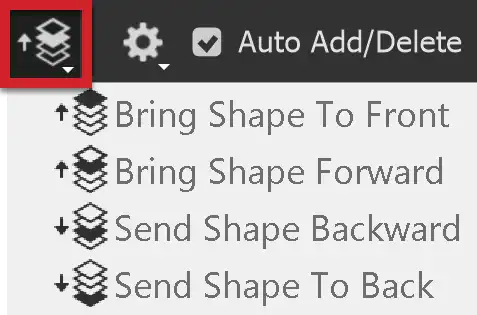
When you have multiple elements, you can arrange them by bringing forward, so they are in front of other elements, or sending back, so they are behind other elements.
Bring Shape to Front brings the shape to the front, so it is visible over all other shapes.
Bring Shape Forward brings a shape forwards, so it is in front of the next shape. It may still be behind other shapes.
Send Shape Backward Sends a shape backwards so it is behind other shapes. It may still be in front of other shapes.
Send Shape to Back Sends a shape to the back, so it is behind all other shapes.
Align Edges

Align vector shapes to the pixel grid.
Path Options
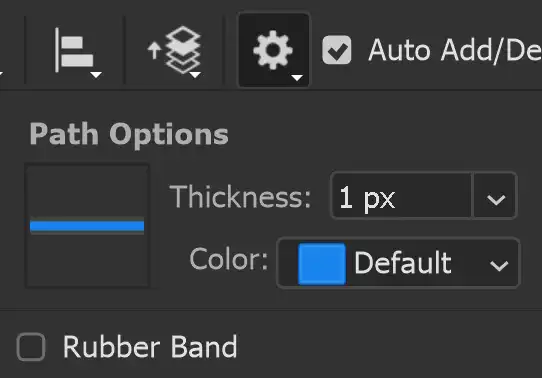
These are some options for your preference while you work with a path.
Set the thickness for the visible path, while your work.
The Rubber Band option creates a line while you move the cursor to create the next anchor.
Constrain Path Dragging

Constrain proportions while dragging.
How to use the Path Selection Tool
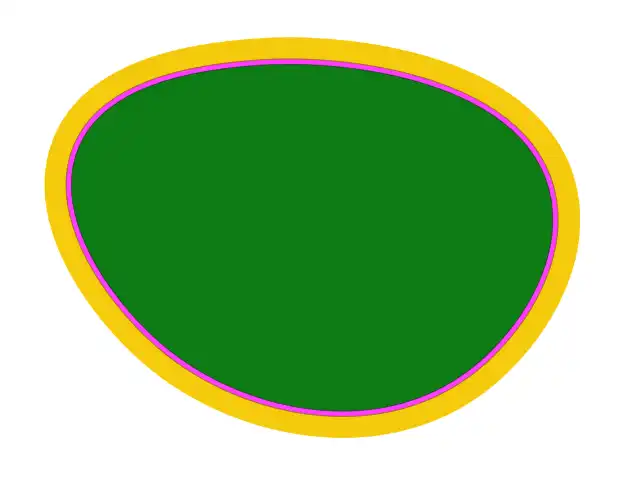
The Path Selection tool is used for moving or selecting paths or shapes. It is often used in conjunction with the Direct Selection tool, which is used for modifying the shape of a path or shape.
Both tools are in the shape of an arrow. The Path Selection Tool is black, while the Direct Selection Tool is white.
You can switch between them by holding the Ctrl key and clicking.
1. Select Path Selection Tool

Select the Path Selection tool on the Toolbar. It shares the button with the Direct Selection tool, so the visible tool will be the last one used.
2. Simple Shape Example
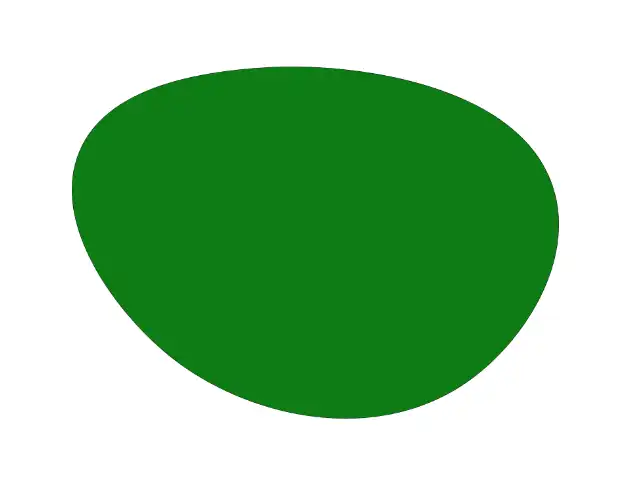
Here is a simple shape I created with the Curvature Pen Tool, just by clicking a few times to add anchor points. The tool automatically created the shape, which I filled with green.
If I click again with the Curvature, or any other Pen tool, I will be adding a new layer for a new shape.
To edit the shape, you need the Path Selection Tool, or the Direct Selection Tool.
3. Edit the Shape
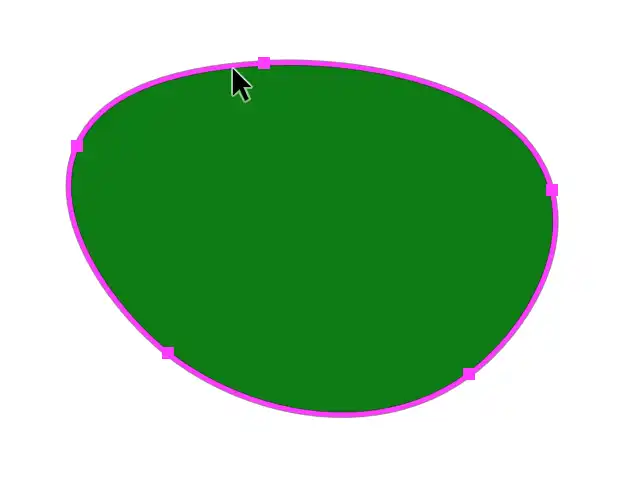
With the Path Selection Tool, click on the outline of the shape and the path will be visible. You can change the color of the path, using Additional Path Options. This is sometimes necessary, depending on colors used in the Fill or Stroke, make it hard to see the path.
4. Move the Path/Shape
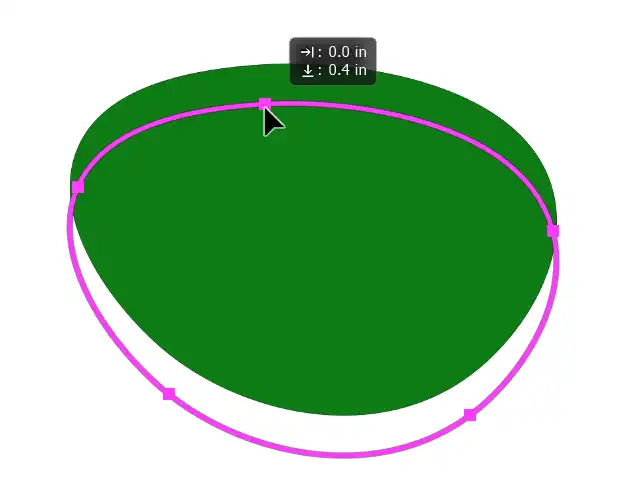
If I click on an anchor point with the Path Selection Tool and drag, it will move the entire path. Whilst dragging, you will just see the path move. When you release the mouse button to complete the move, the whole shape, complete with Fill and Stroke, will move. See the next step.
5. Result of previous step
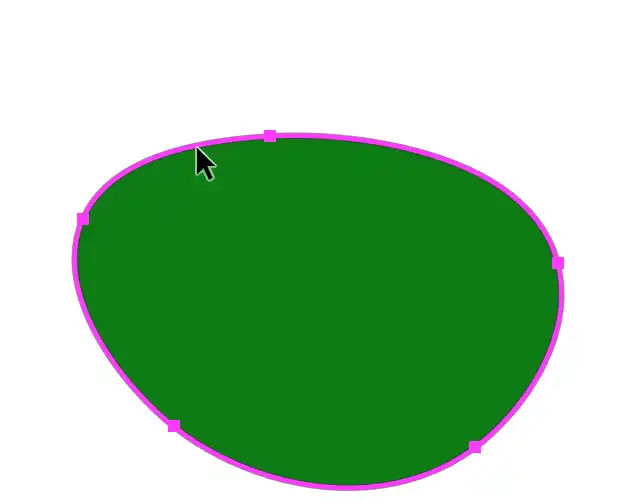
This is the result of the previous step, where I clicks and dragged the path to move it.
6. Change the Fill

To change the Fill, click on the Fill button on the Options bar.
Choose which type of Fill you want. I've selected Solid Color (highlighted in green).
Other options are;
No Color (highlighted in pink)
Gradient (highlighted in blue)
Pattern (highlighted in white
You can open the Color Picker (highlighted in yellow), or select any of the color groups.
7. Selected Color
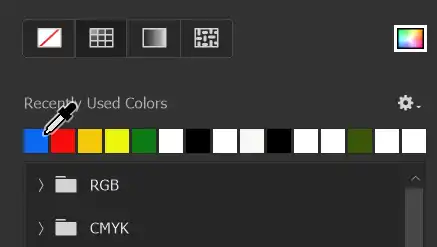
I have selected blue from the Recently Used Colors.
8. New Fill Color
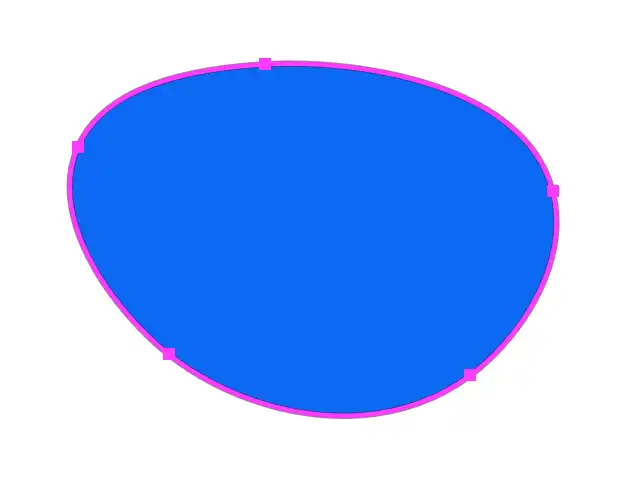
Here is the blue Fill.
9. Change Stroke
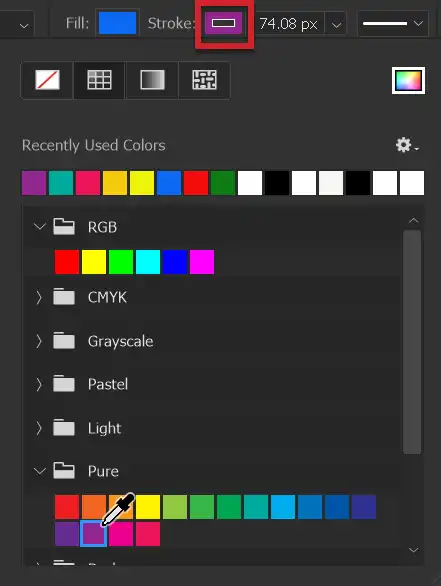
Click on the Stroke Type button on the Options bar. That opens the panel shown.
You have the same options as in the Fill Type panel, for No Color, Solid Color, Gradient, or Pattern.
I have selected a magenta color from the Pure dropdown list.
10. New Magenta Stroke
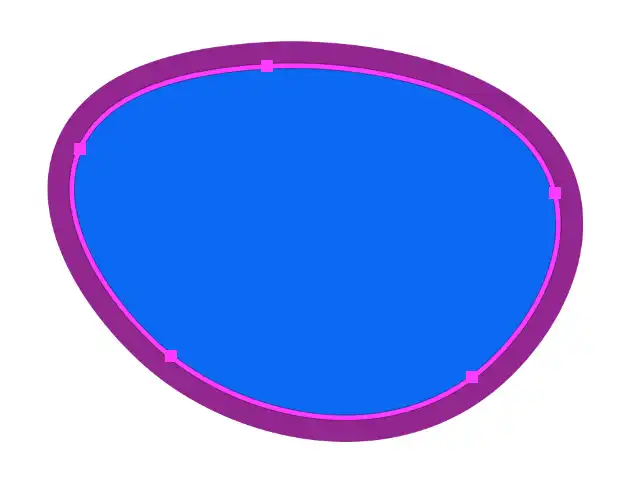
Here is the Magenta Stroke.
It has been applied using my last used Stroke Width (74.08 px).
11. Change Stroke Size

To change the size, I have moved the cursor over the Scrubby Slider. Note the hand + 2 arrow icon.
Click and drag to the right to increase the width of the Stroke. See the next step.
12. Change Stroke Width

I have dragged the Scrubby Slider to the right to increase the Stroke Width to 140.07 px (the whole number isn't visible).
13. Result of Wider Stroke
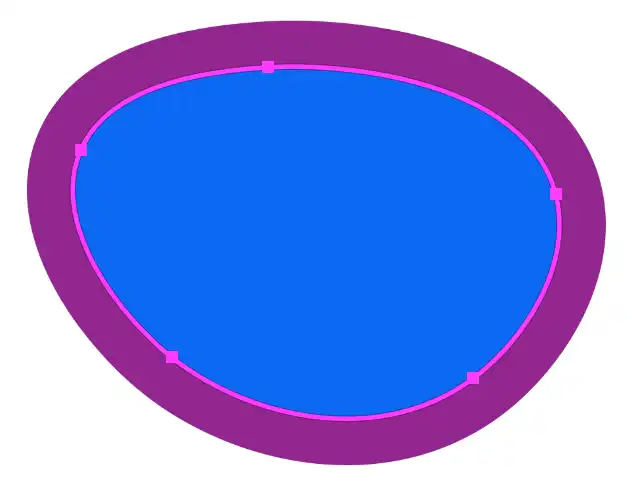
Here is the wider Stroke.
Summary of the Path Selection Tool
The Path Selection Tool allows you to move and edit a path, changing Fill and Stroke.
If you want to change the shape of the path you will need the Direct Selection Tool. You can either select that from the same button on the Toolbar, or press and hold Ctrl and click. To change back to the Path Selection Tool, again press and hold Ctrl and click.

